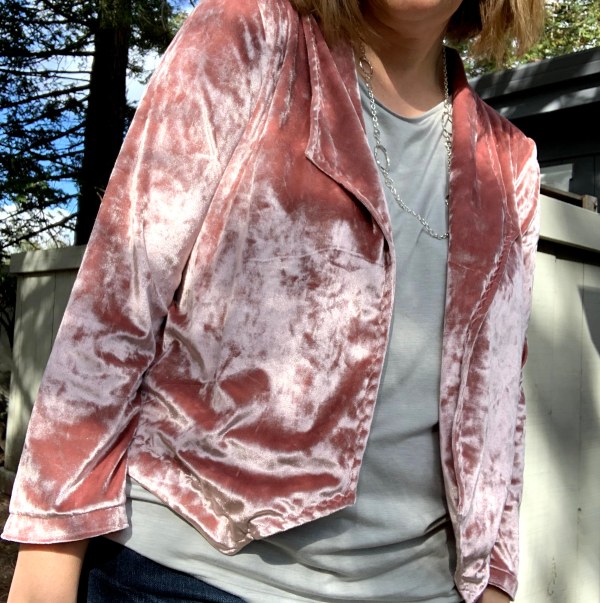
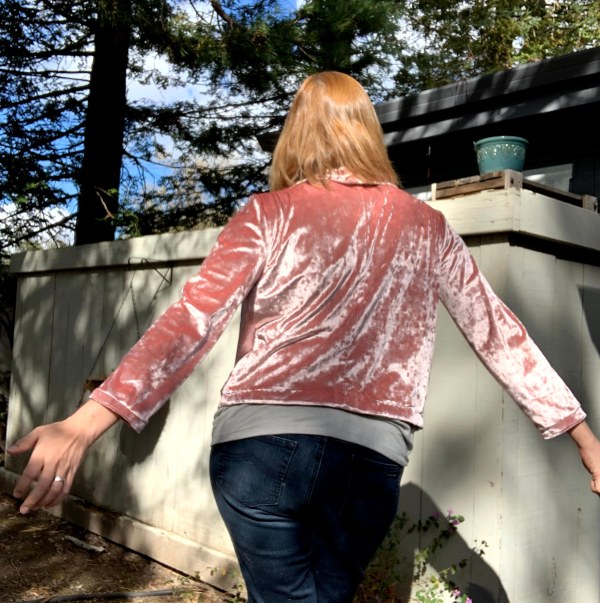
When I started sewing last year, I knew it wouldn’t be long before I got into the shiny and silky fabrics. As described in my sewing story, my first clothing crush was with a shiny turquoise jacket. So it’s fitting when I bought my first yardage of stretch velvet a few weeks ago that my thoughts were on making a jacket. And make a jacket/blazer I did: Roller disco here I come!


Of course I had to take pictures of the blazer with my Vespa, because they’re both so shiny and pastel!


This jacket is the missing piece of the module I’m creating for the Instagram challenge #TheGreatModuleSewalong, hosted by Whitney from TomKat Stitchery and Carla from Stay Stitching. A module consists of three tops, two bottoms and one topper. This silky wonder is my topper.
I cut the pattern pieces at a size 18, wanting a little extra room to wear bulky tops underneath. Sadly, an 18 would not fit on my two yards of fabric so I trimmed all the pieces down to 16. I had also wanted to lengthen the sleeves but that too wasn’t happening. I barely fit all the size 16 pieces on two yards. Not to worry: It ended up fitting fine.
The pattern instructions were very clear. There is also a detailed sewalong I would turn to when I had looked at the instructions too long. The pattern is for Advanced Beginners and I would agree.
I had prepared for a really rough ride with this stretch velvet and read all of these thouroughly before starting:
- A Beginner’s Guide to Sewing Velvet – Seamwork
- Top Tips for Sewing with Velvet – SewEssential
- Tips for Sewing Velvet – Closet Case
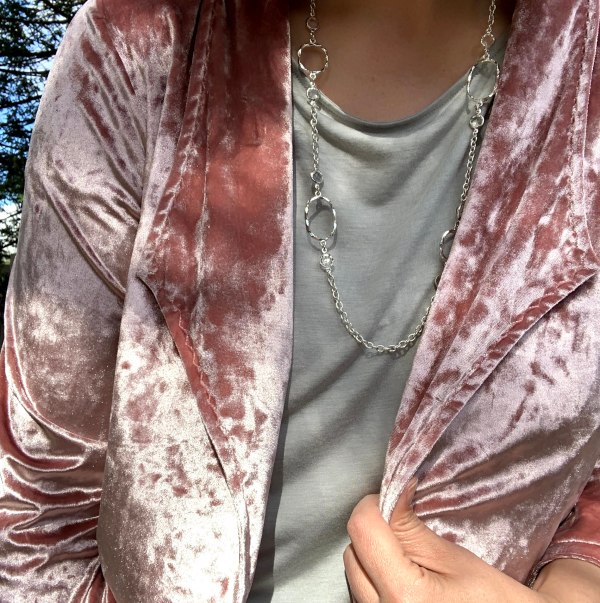
These were helpful for sure, but it turned out this was one of the easiest makes I’ve done yet. Mostly due to the fact that I just serged every seam that would fit under the serger. I used an off-white serger thread and I was very happy with the antique look it made on the dusty pink.
A big, big thanks to Joey Sewy who happened to post a video of her Morris blazer the day I was making mine. I never would have thought of using a decorative stitch for topstitching the lapels, but when I saw it on her blazer I had to copy it.
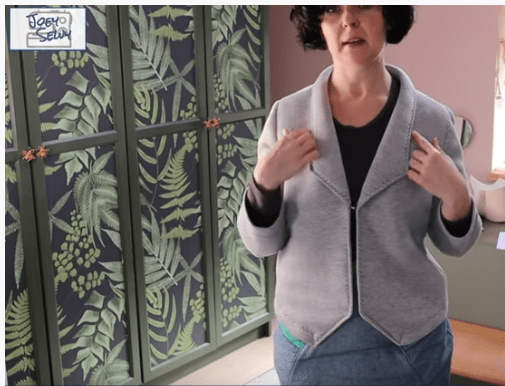
I consulted my Singer manual and found the triple zig-zag. I absolutely loved it! Added bonus: it gives the impression of piping in the lapel, without having to do any piping.
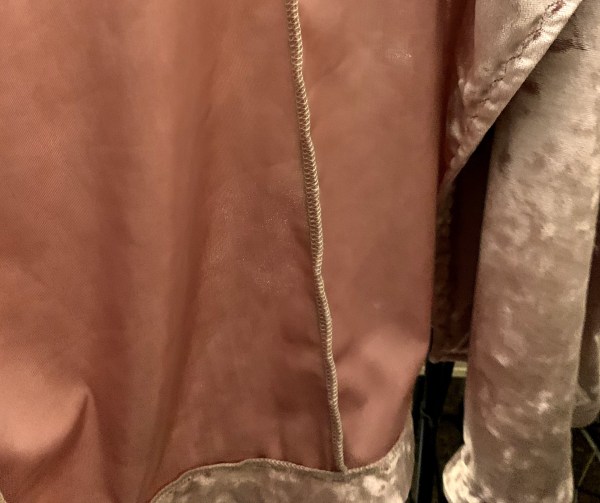
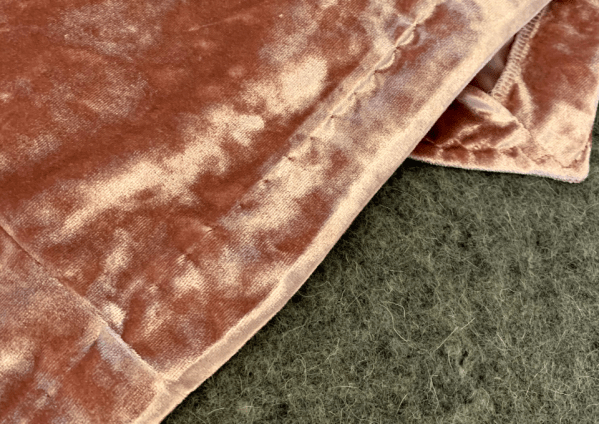
I veered from the instructions a couple times. Firstly, I didn’t want a line of stitching on the hem so I decided to do a blind hem. It was fiddly to do but turned out nice. Not so invisible, but it has a wavy look that matches the lapels.
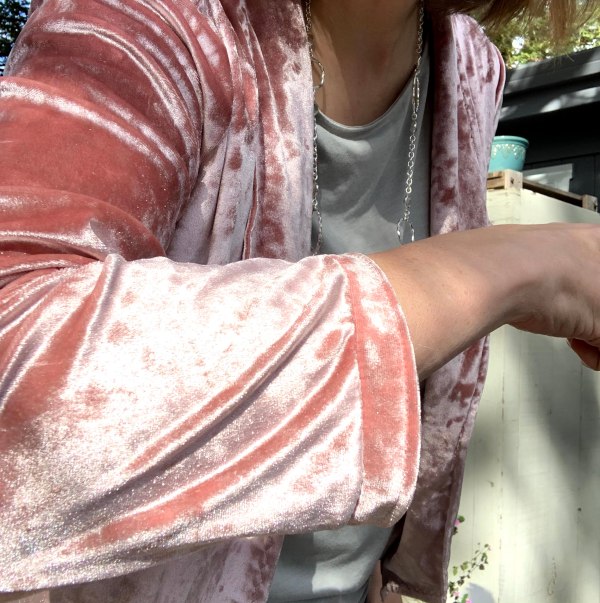
Secondly, the instructions called for turning the whole sleeve facing inside the sleeve and topstitching. I thought the facing looked so good as a little cuff that I just serged the edge, turned it under a tiny bit and edge-stitched.
Only twice did a get a bit stumped. Firstly, the instructions call for interfacing all the facings. What I’d read about velvet had the following instructions about interfacing it: Don’t. Or if you must, use a sew-in interfacing. I just happened to have some sew-in interfacing that my mom gave me from my nana’s stash. Sewing this onto the facings with a basting stitch worked for all but the lapel pieces. Those were just too big and a stitch around the edge wasn’t enough to keep the interfacing in place, so I skipped it on those pieces.

I would jump at the chance to work with stretch velvet again. It was a lot of fun and looks amazing! I would also make this blazer again. A thick knit fabric such as ponte de roma in olive green would be sublime. Stay tuned. -rp

Rachel, A very hip jacket.
Thanks! If it weren’t for social distancing I’d be wearing it everywhere!