A few weeks ago, I shared my experience making two of the Molly tops from the Sew Over It My Capsule Wardrobe: City Break ebook. I’m still really crushing on this book and now want to make at least one version of all five of these brilliant patterns.
Most recently I finished the long version of the Erin skirt, but not before ripping out so many mistakes that I broke my seam ripper!

Caption: Arriving at PDX in my Molly and Erin
I used black denim leftover from my Cleo dungaree dress and added 2″ in length to the long version of the skirt. I wanted it to hit just below the knee when I was sitting and it does. The shirt in the photos above is my Molly top in a tie-dyed stretch rayon.
I can’t even remember how many seams I ripped out on this project. It all started when I stopped liking the red topstitching I had done on the pocket seams.
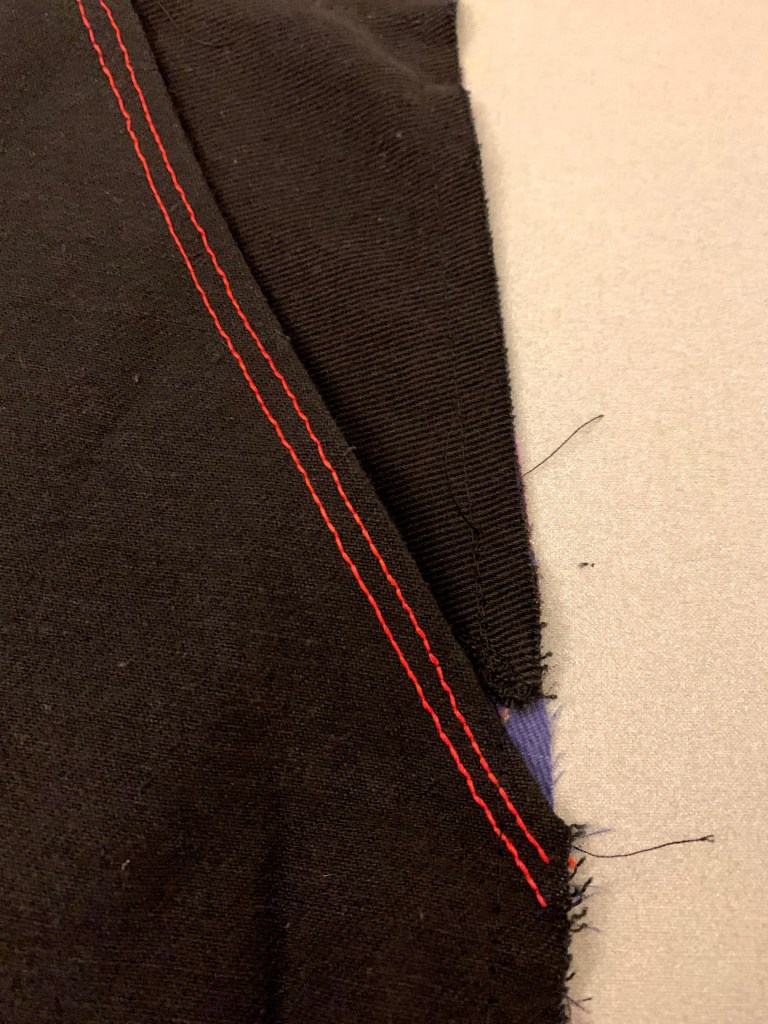
Red topstitching on black just looked like a child’s hat or a cowboy shirt to me for some reason. So Then I tried a light gray…
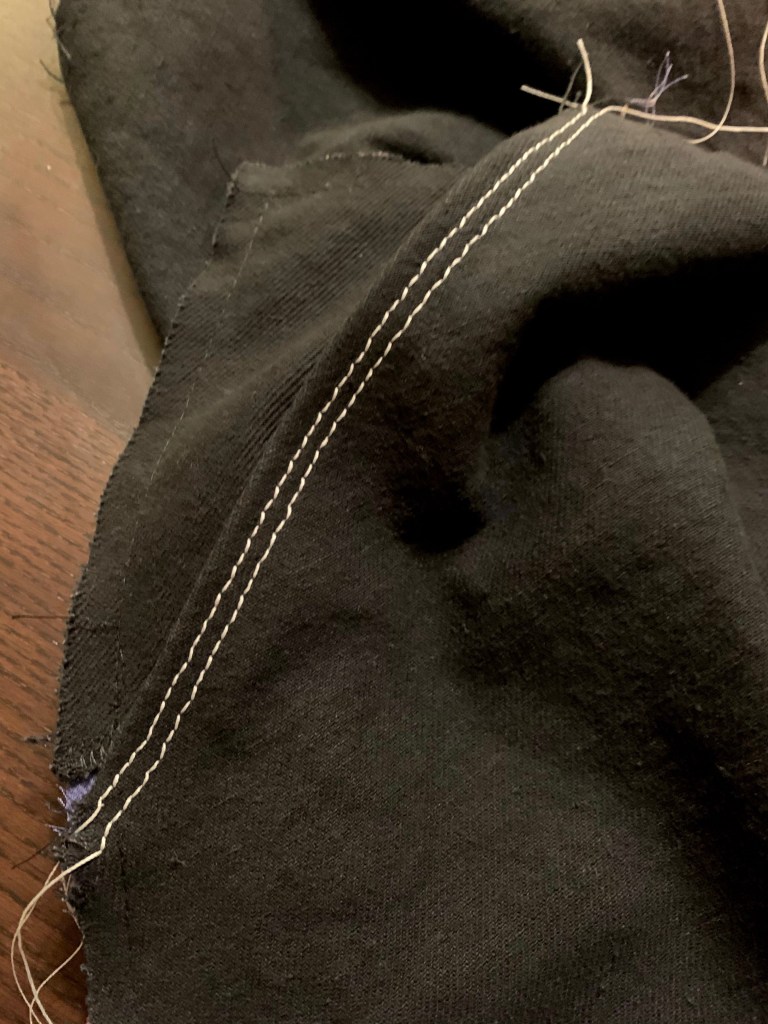
The gray looked too thick and clownish. I ripped this out and settled on a denim-friendly gold in a regular (non-topstitching) thread thickness.

With the topstitching decided, I moved on to completing the pockets. I had watched a great video on jeans pockets by DIBY Club and wanted to do it their way, rather than do the pockets in all denim as the Sew Over It book called for. I drafted a pattern piece for just a corner of the pocket in jeans fabric. The original pocket pieces I would cut in some leftover tencel print. The DIBY video instructed me to sew the jeans piece to the right side of the pocket fabric.
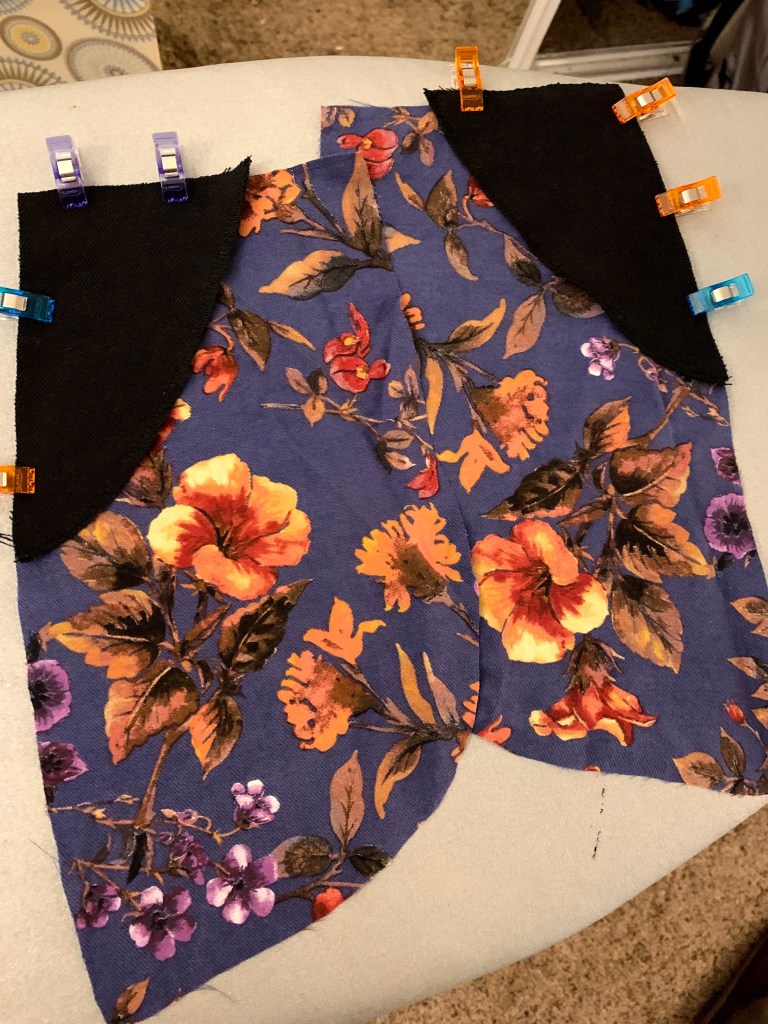
This is how the pockets are sewn, which meant the visible pocket fabric was then the fabric’s wrong side. Next time I will sew these pocket pieces right sides together with the jeans piece first sewn to the wrong side. This way, from the inside of the skirt you’ll see the right sides of the pocket fabric. A real heartbreaker was my self-drafted jeans piece was far too small and my pocket fabric was visible above the pocket opening.

I drafted a new, much larger piece after this happened for next time.

Once the pockets were sorted, I constructed the rest of the skirt, unfortunately sewing a front panel on backwards in the process.
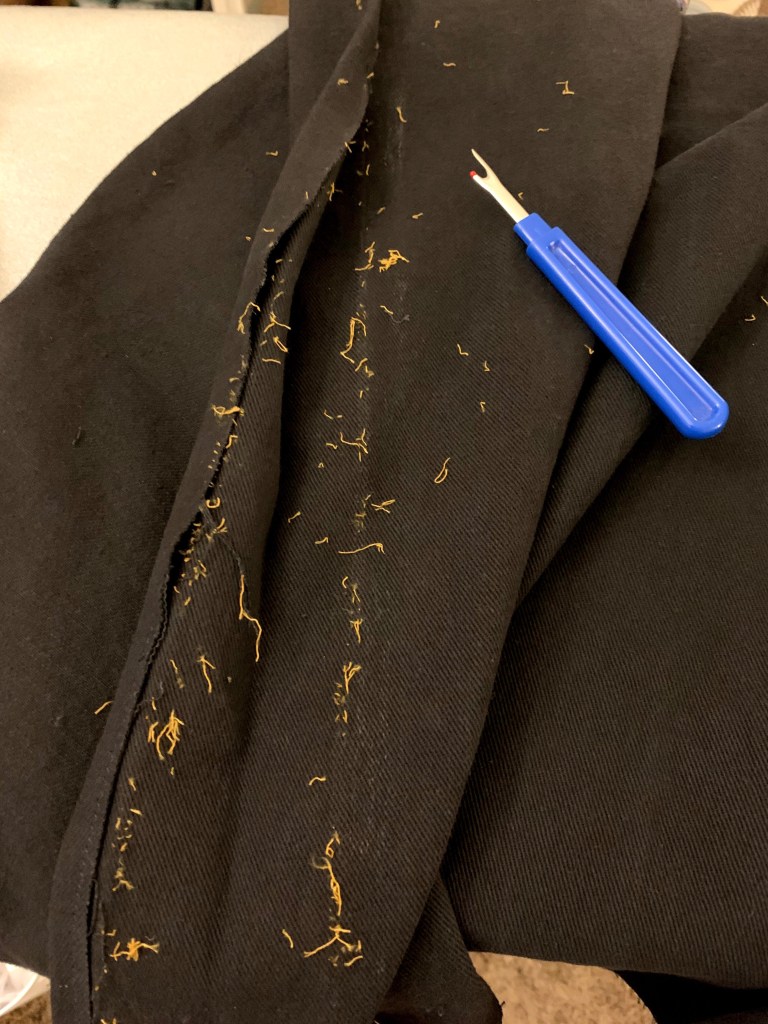
Ripping out all this topstitching is what did in seam ripper #1 and I had to move on to seam ripper #2.
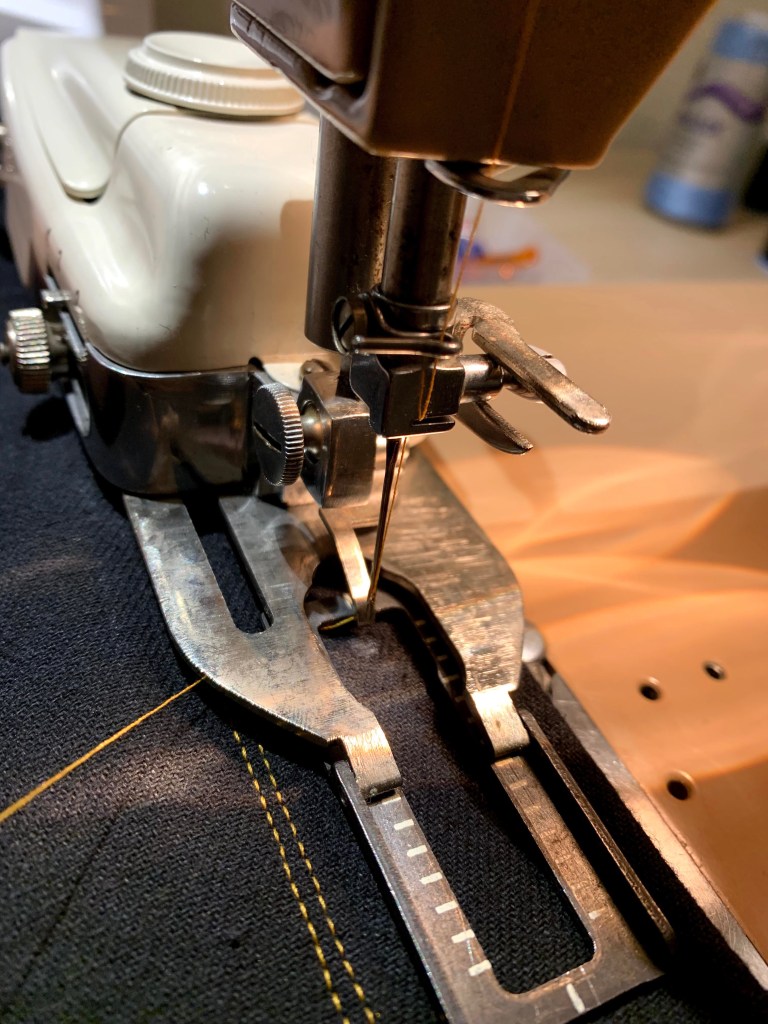
This project was my first chance to use my Singer buttonholer! This is a big metal device that looks like a beard trimmer and attaches to the sewing machine shank much like a walking foot. It has little green templates for different buttonhole sizes. I used the 20mm size for a 22mm button (?) but after a lot of testing that’s what worked.
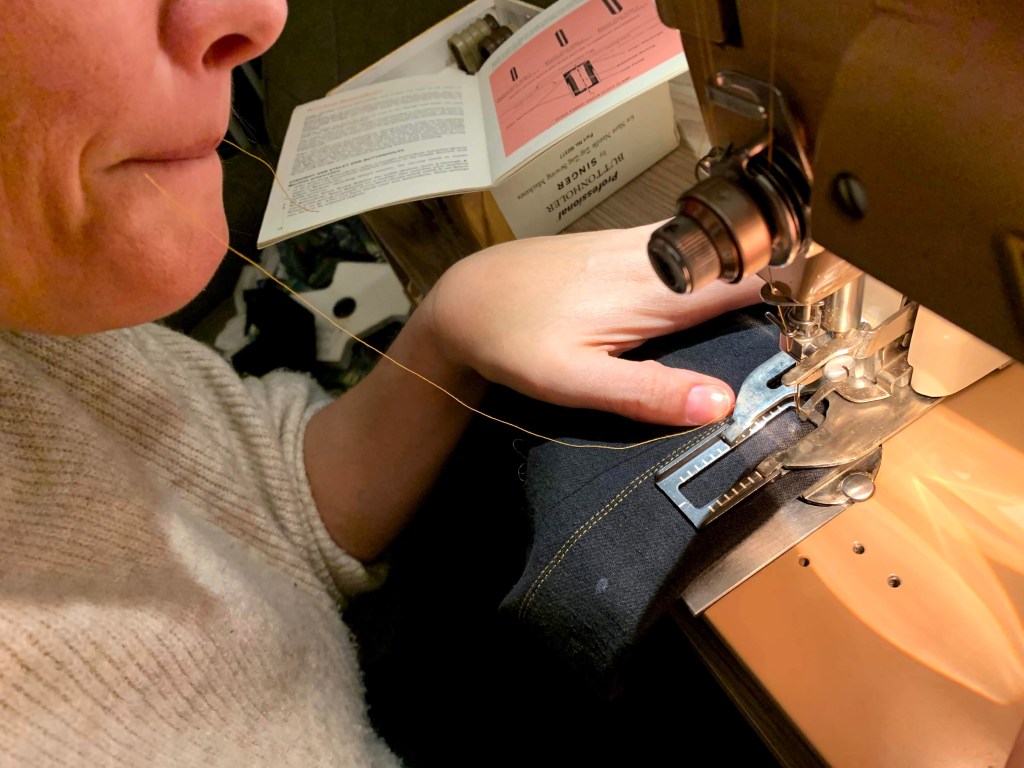
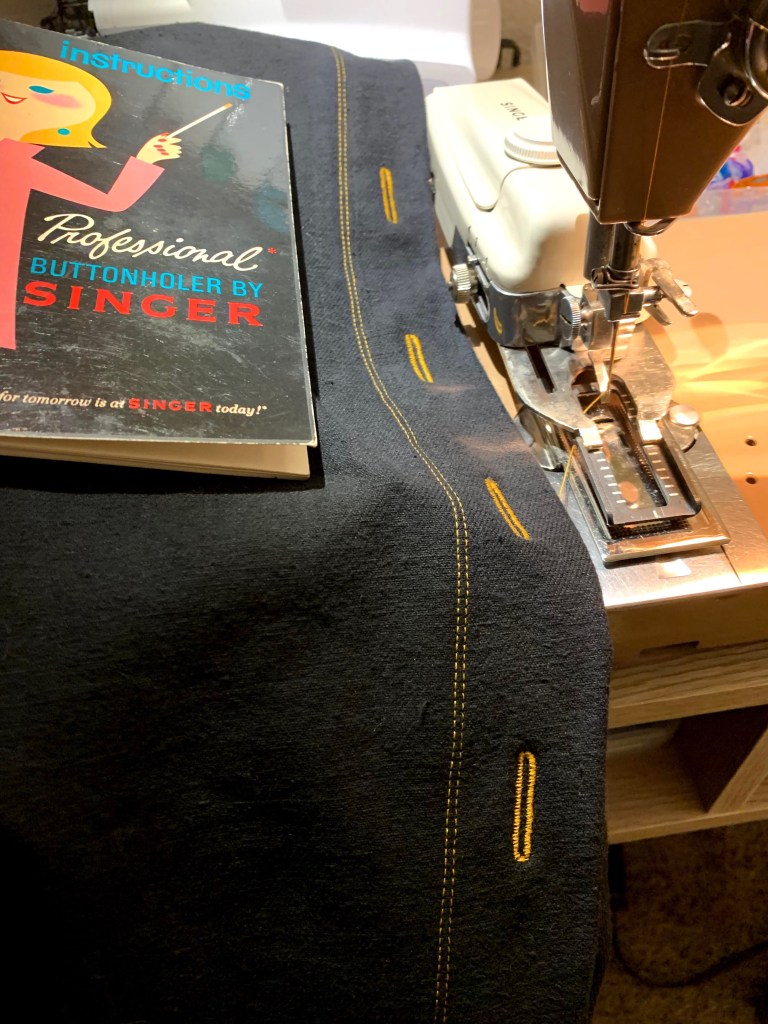
Thanks again to the Love To Sew podcast — they have a full episode on buttons and buttonholes! — for suggesting this device. I found it on eBay for less than $30. Doing manual 4-step buttonholes was just messy and unsustainable on my Singer 401a without it.
In the end, I learned a lot more about working with denim, making jeans pockets, fitting and topstitching on this project. Not to mention sewing buttons and buttonholes. The fit on the final skirt is amazing and it will be a staple in my wardrobe. I even ordered some light blue denim to make another Erin skirt very soon! -rp
