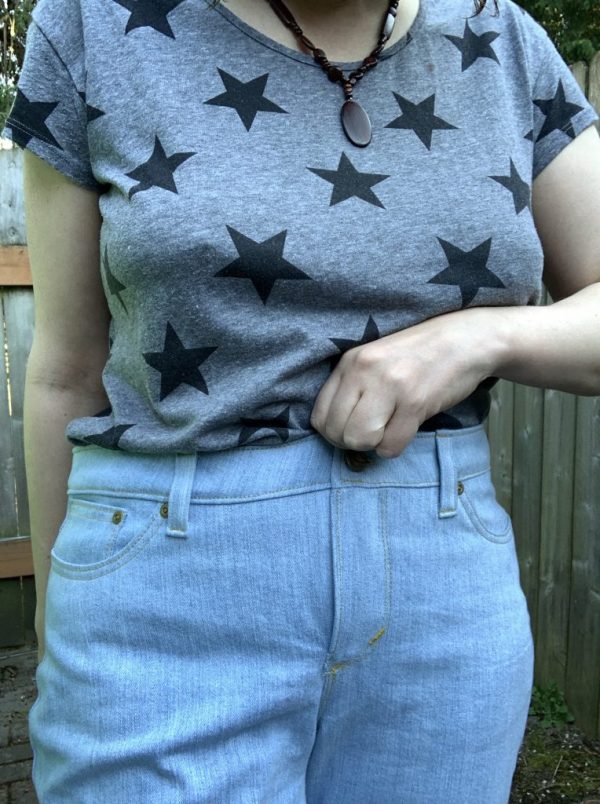
Just after Christmas, I started to realize I had worn my Itch To Stitch Mountainview Pull-on Jeans or Sew Over It Mia Jeans pretty much every single day for a year. It was definitely time for the pants portion of my wardrobe to see an expansion. I had some light blue stretch denim in my stash from Califabrics and so decided to make these into another Itch To Stitch jeans pattern: the Liana Stretch Jeans.

I was excited to get started on these using my new Babylock Brilliant sewing machine. I was sure things like topstitching and buttonholes would be neater and easier and I was so right.
The fit turned out to be not-so-great and I’m not really sure why. I cut the straight-leg version of the jeans. When I was done, I laid my Mia jeans pattern piece over the top, as my Mia jeans have the perfect leg size (if a little tight in the calves).
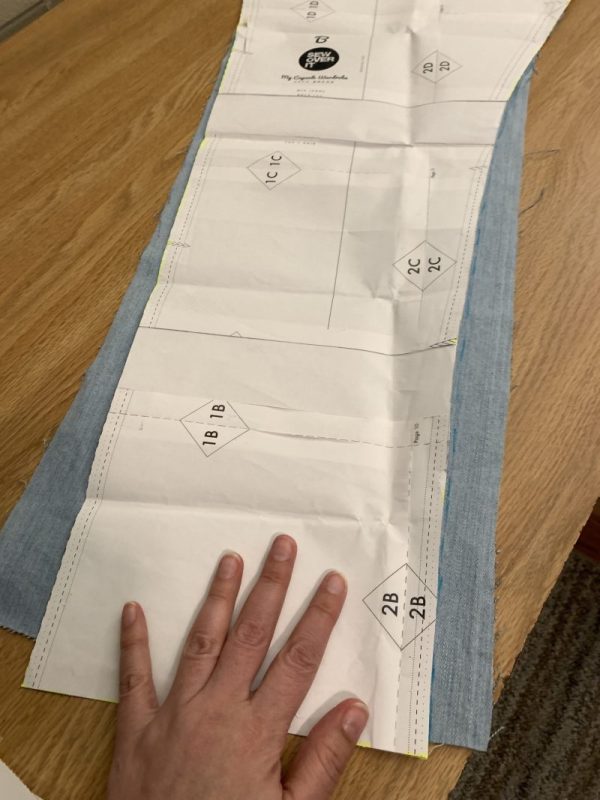
The Mia jeans were much narrower, so I trimmed down the legs of the Liana. It’s so perplexing that they STILL came out a good 4 inches wider than my Mia’s. My best guess is because the seam allowance for the Mia is 5/8ths and the Liana is only 1/2 inch. Amazing how 1/8th of inch, or just little fractions of fabric can make a huge difference in fit!
On a positive note, I was really happy with the topstitching done on the Babylock.


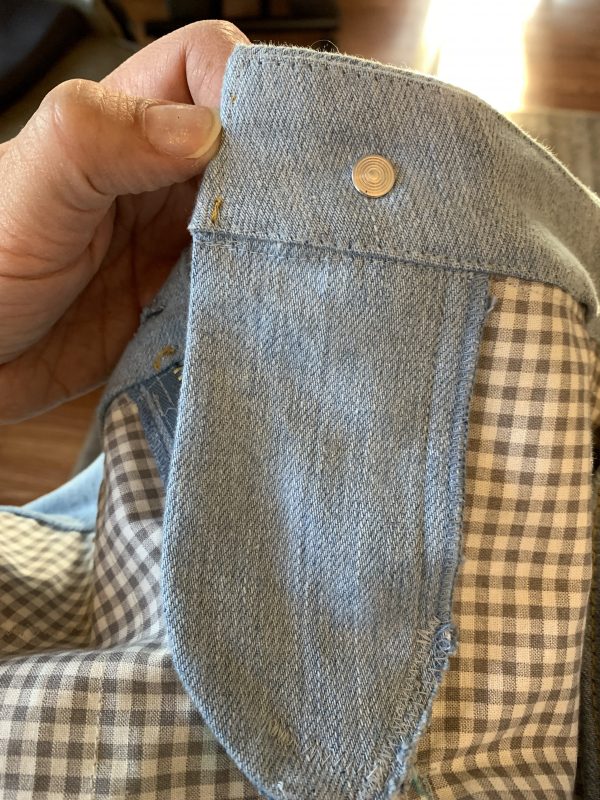
The biggest issue with this project was (not-surprisingly) in the zipper construction. I was sure to take my time and follow all the steps. Yet somehow I ended up with the zipper being right on the very edge of the fly shield, and a big hole under the bottom of the zipper.


At this point, I deviated from the instructions, unpicked the zipper and just put it back in the right orientation the best I could. In the end, the zipper was a few inches too far in, so now I have to dig inside my pants to unzip them!
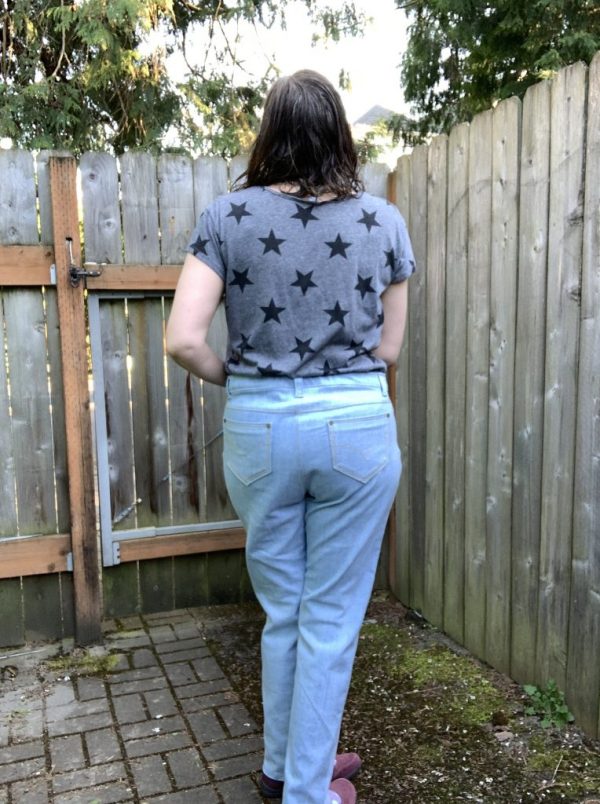
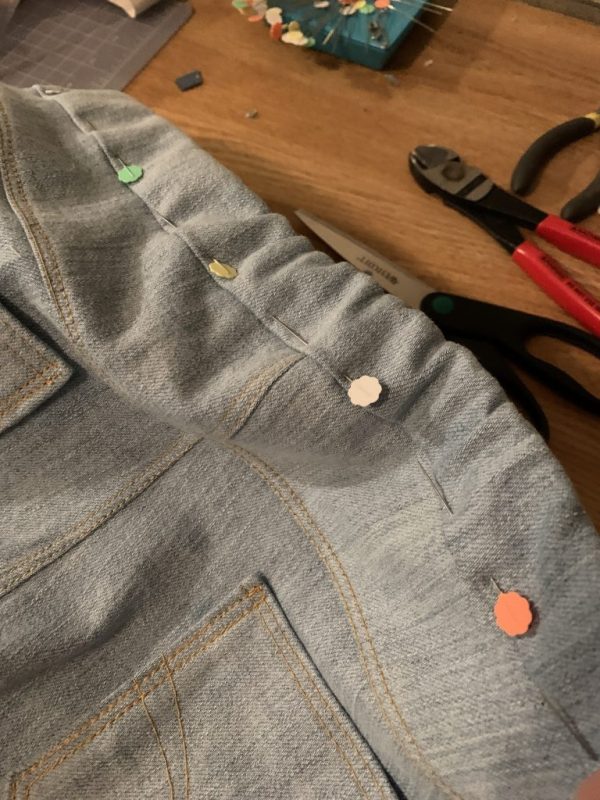
Finally — after 2 weeks plugging away on these jeans — I arrived at the waistband. I tried on the jeans and the waistband was far too big. I googled the issue and found a post on It’s Always Autumn about how to use elastic to fix a gaping waistband. I sewed in some 5/8-inch elastic (leftover from mask-making) and it did a lot to remove the gape. It’s barely noticeable from the back.
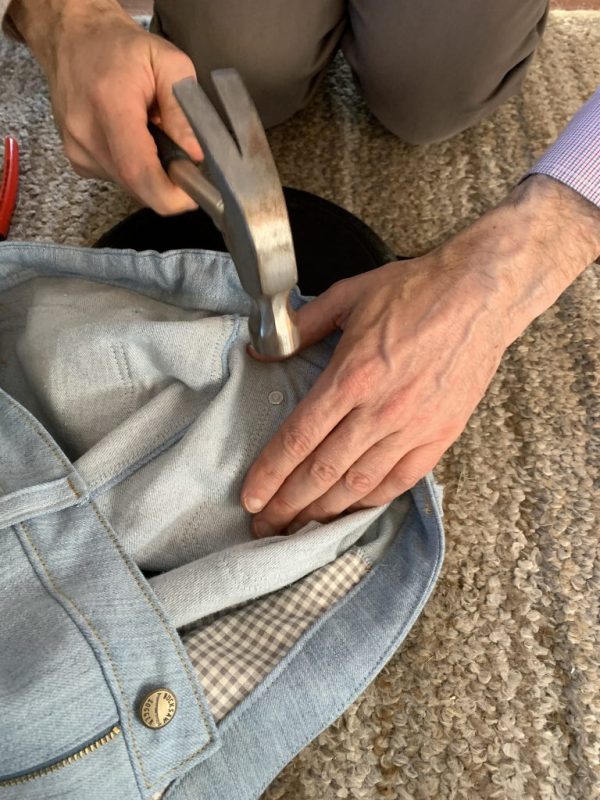
Once the waistband was done, I was nearly there. The Babylock one-step buttonhole was a huge time and trouble-saver. Then Eric helped me install the rivets on top of our iron skillet.
I can’t say I will be rushing to make jeans again anytime soon. If I do, though, I’m going back to my Mia jeans pattern. Some tried-and-true patterns just fit and it’s not our place to know why. -rp
