The weather is heating up here in California and I had some smaller pieces of fabric from recent projects leftover that I wanted to turn into woven tanks. I chose the Hana Tank by Pattern Scout because I loved the v-neck design. This pattern comes in cup sizes, which I am still kind of confused about what they do. I decided to make a cropped B (blue) in a size 14 and a lengthened D (yellow) in a 12, just to see the difference.

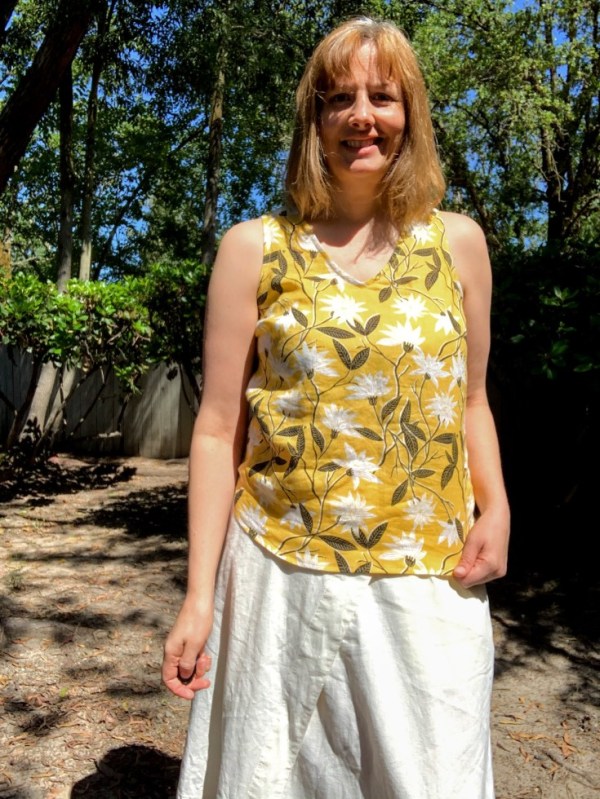
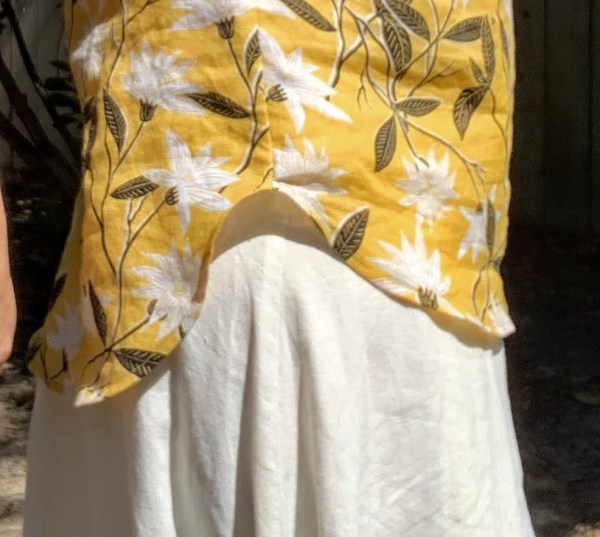
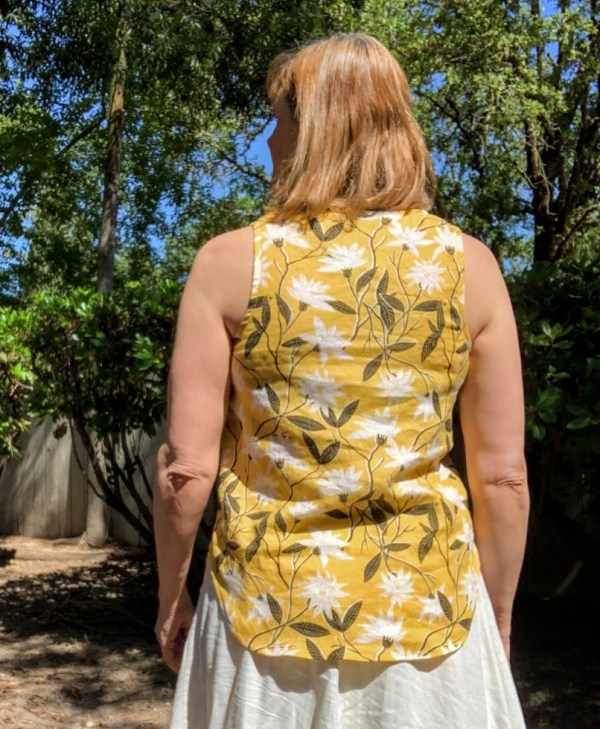
I love the v-neckline and the rounded hem!
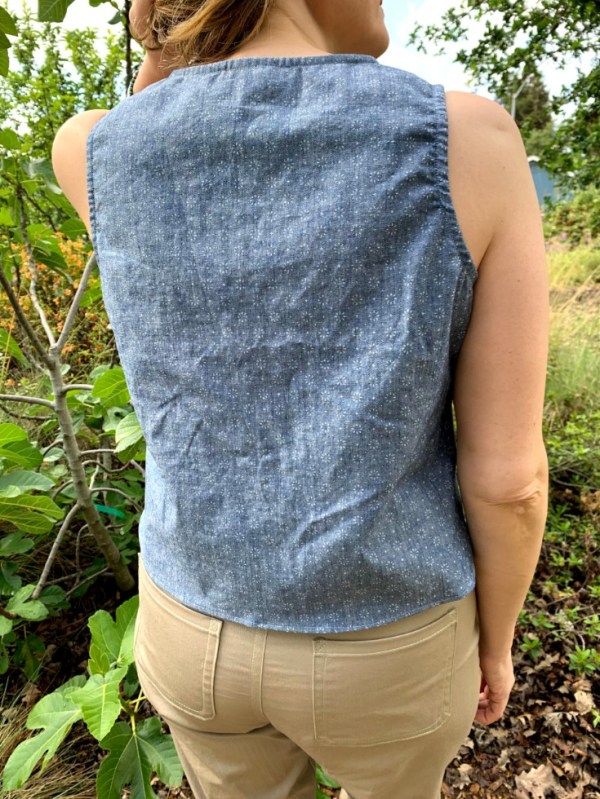
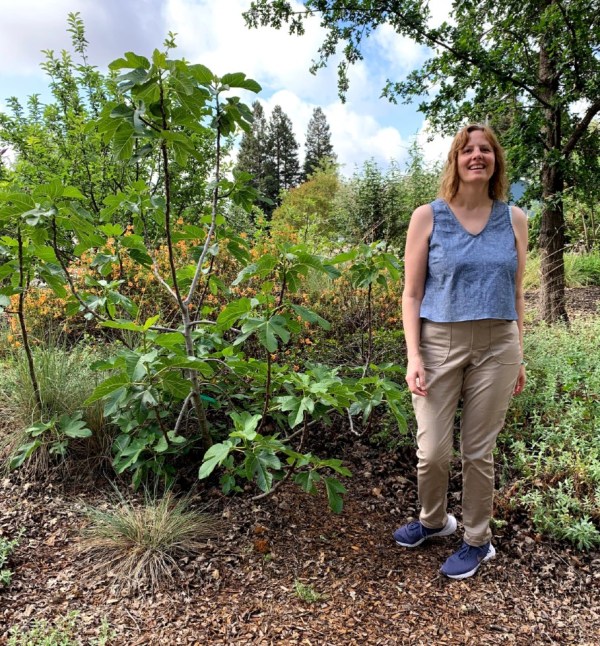
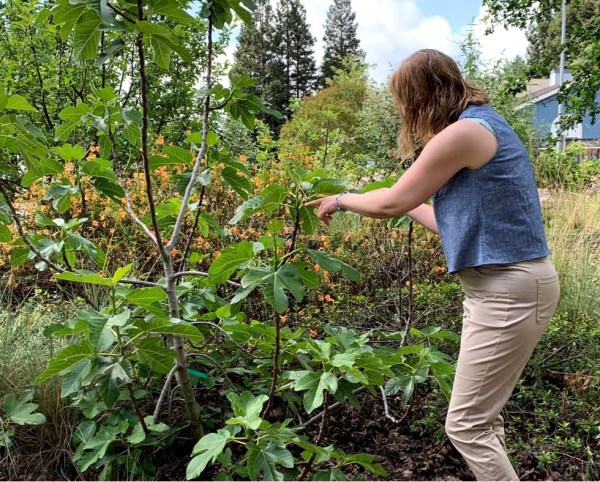
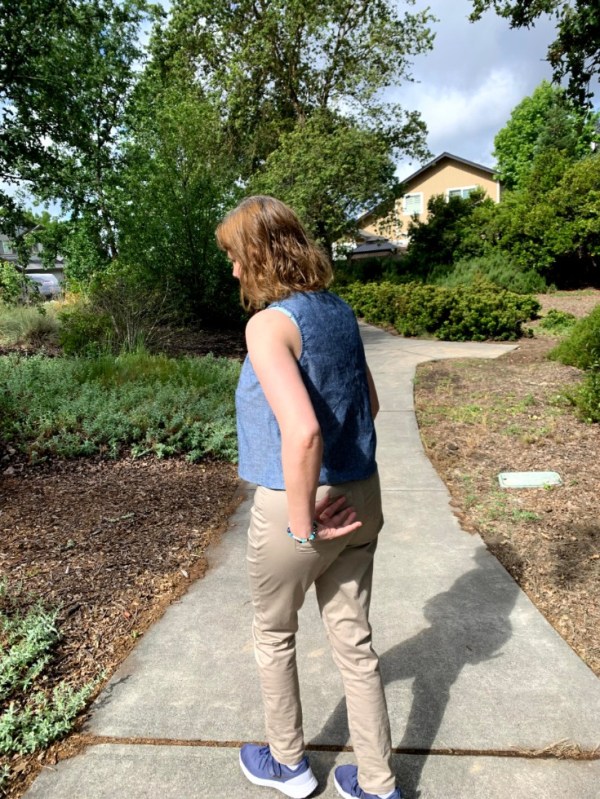
I wore the blue tank to my neighborhood park and posed with my favorite Peter’s Honey Fig. This fig is part of a “food forest” and everyone in the neighborhood gets to eat its figs in August.
These figs are so delicious that I didn’t want to share them, so a couple years ago I bought my own honey fig and put it in a half wine barrel (which are very easy to come by in Northern California).
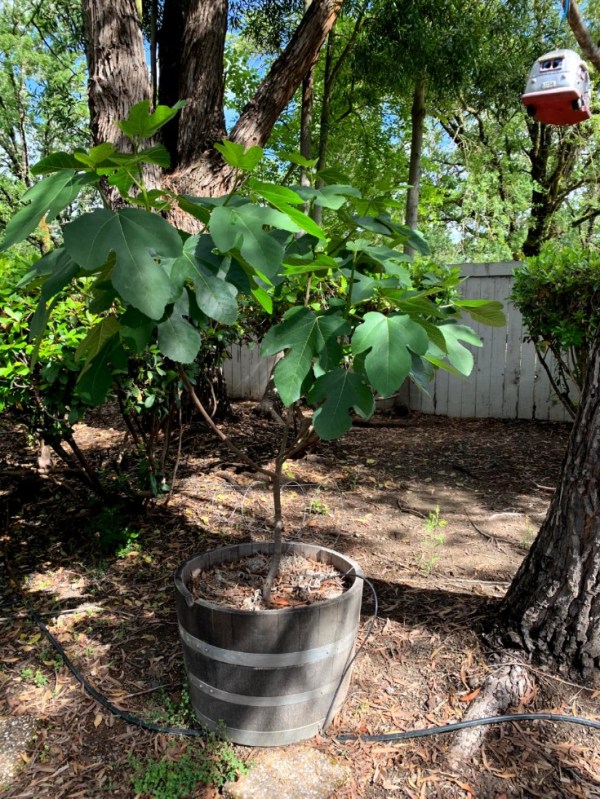
My fig really bushed out this year and has sprouted a single fruit! It’s amazing because when I bought this tree it was just a 3-foot stick that I couldn’t believe I spent $40 on.

But back to the tanks: These both provided much-needed experience with bias-bound necklines and armscyes. For the first blue tank, I tried to follow the instructions but got very impatient and just put the neckline together good enough to sew down. The front looks OK but the back is pretty hacked up.


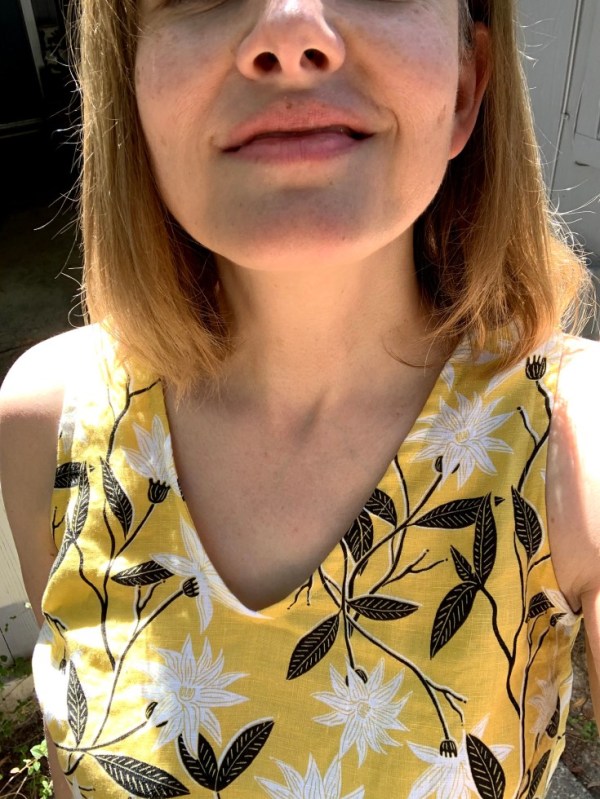
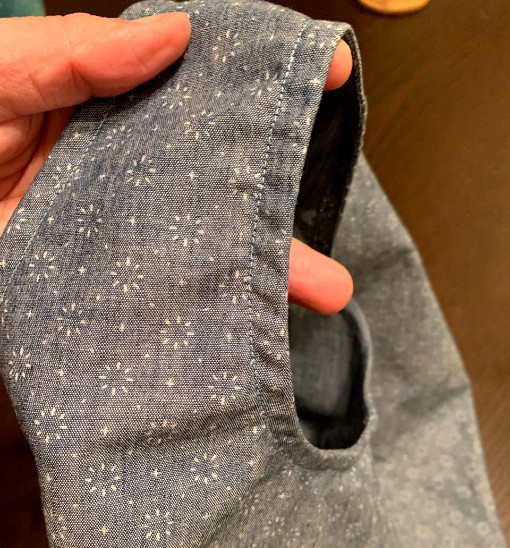
On the yellow, I decided to make a cup of decaf, slow down and do this better. I found a great YouTube video from Global Fashion Workshop that had a bias-binding technique I hadn’t seen. It meant I didn’t have to triple fold my self-fabric bias tape — I was immediately on-board as I’ve had little success with bias-tape makers and burn the heck out my fingers without them. The first step is to add some tiny interfacing to the V. What a great idea! This area was already starting to fall apart when I did this.

I slowed down and followed the video for about 4 minutes and then paused it and did both sides of the v-neck. I unpaused and they were like, “Now here’s the different technique for the other side.” What? Oh well, it still looks better than my first try. There is some gaping at the neck, though. I think I need to tug the bias tape a little more when sewing it to the front of the neckline.

Not too much, though, because I tugged too much on the blue arm and it puckered!
This is stuff that I’m sure comes with experience! The arms of the blue tank were quite tight, so I cut them wider on the yellow. I think they ended up too narrow, though. In future, I’ll only widen the bottom and front of the arm and not the back. It looks a little silly to me it’s so narrow across the shoulder (nit-pick alert).
I did flat-felled seams on the blue tank and french seams on the yellow. The Hana instructions are the first I’ve seen that call out the fact that you need to sew french seams wrong-sides together at 3/8″. That’s the part I always forget and it’s amazing to have that right in the instructions!


I needed to move the dart down 1″, which I remembered for the first tank (blue) but forgot for the second tank (yellow). I used Claire from Penguin and Pear Dressmaking‘s technique of cutting out a whole rectangle on the shirt side and just sliding it down. So easy!

I also remembered on the first tank to sew in my new labels. (My husband got me these as a birthday present this year.)


It’s now in the low 80s every day here and these tanks are so great for afternoon walks! With my me-made Mia cargos, they make the perfect outfit.
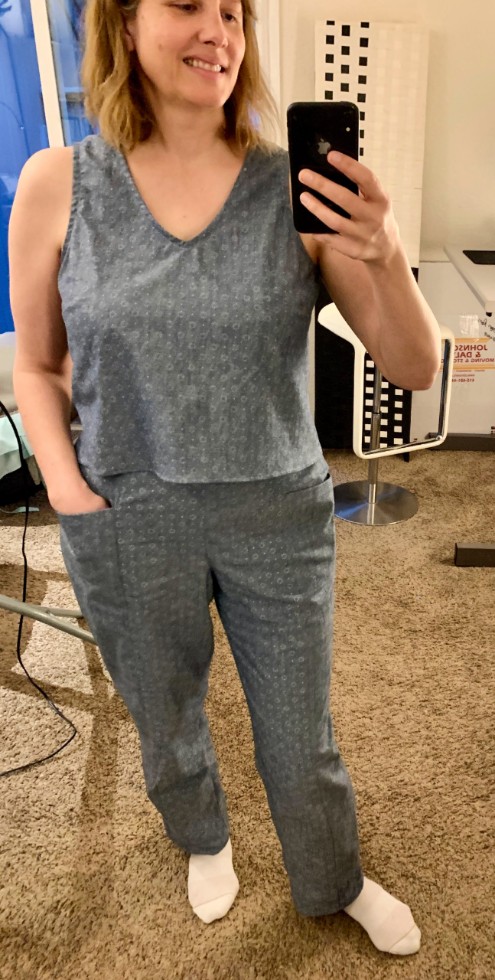
I can also wear the blue tank with the matching Pietra pants for a little working-from-home suit.
An indoor-outdoor wonder! Thanks so much for visiting — time for me to go water my fig. -rp
