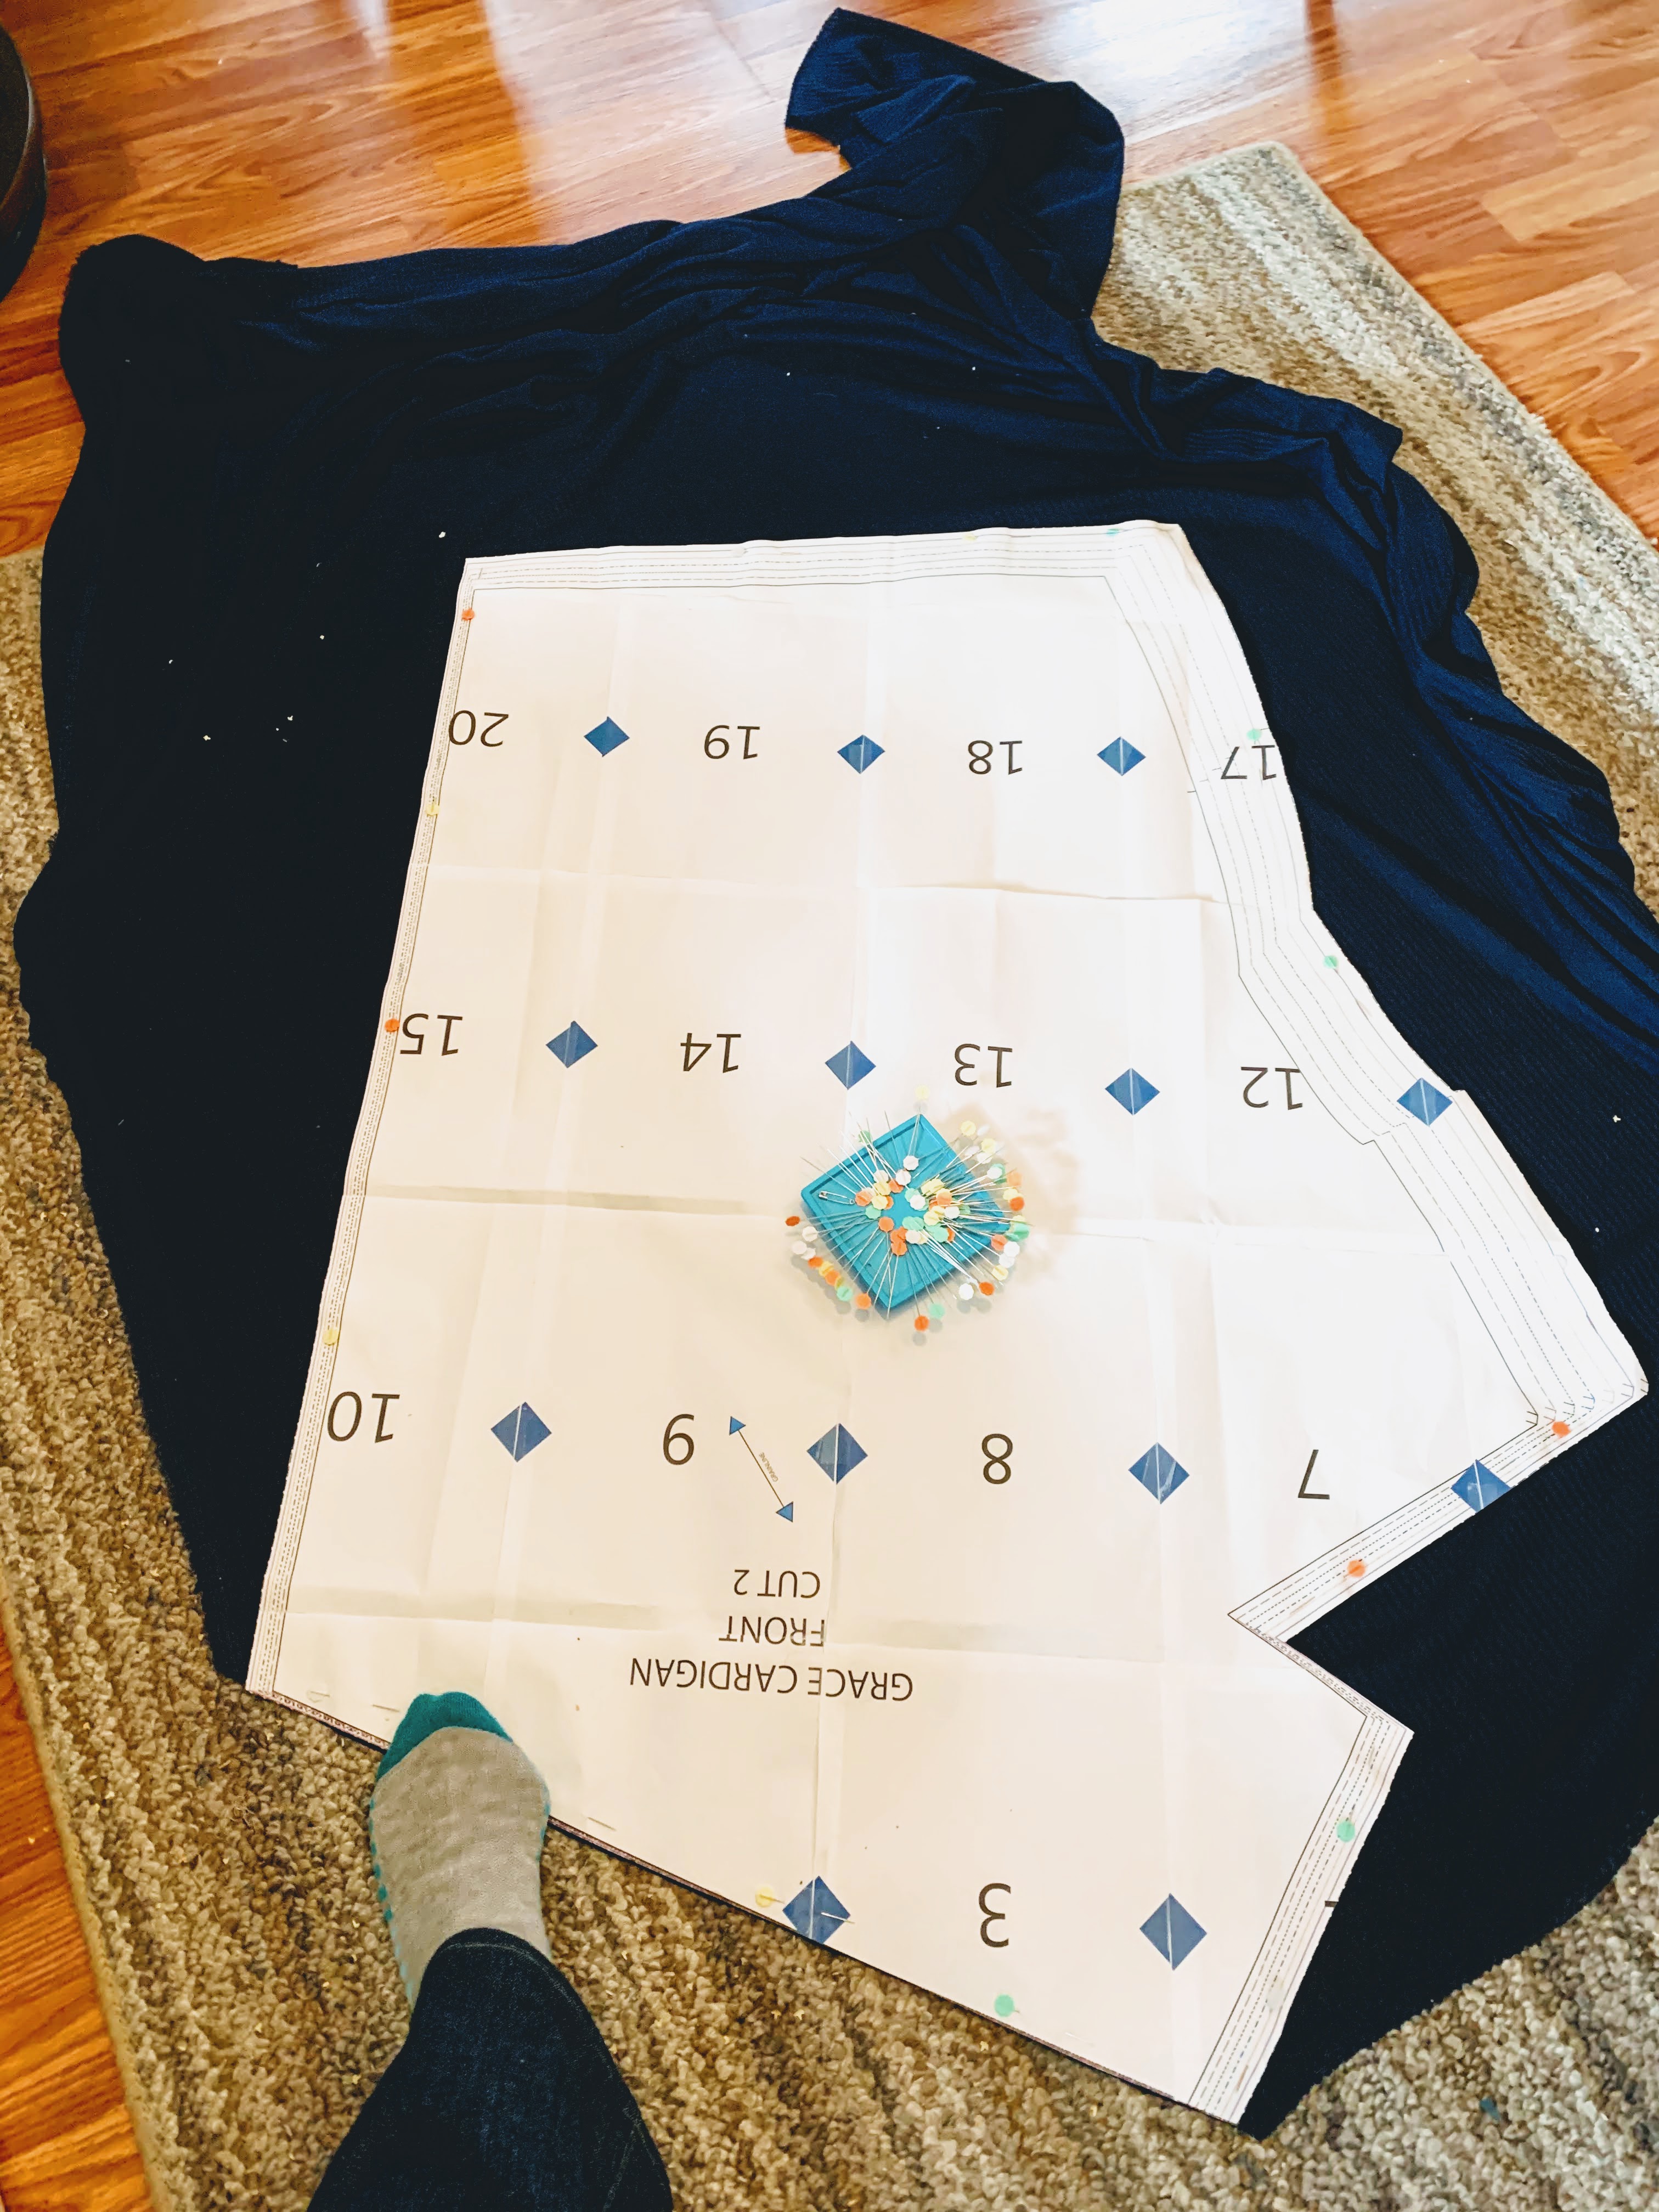
One of the first things I wanted to make when I learned to sew was a waterfall cardigan. I had one that I had worn until it was very visibly pilled, which was sent to me by the wardrobe service, Le Tote. Like so many things now — paying for a wardrobe service seems positively absurd, considering I now work from home and have tons of lovely handmade garments. Nonetheless, I ran across a pattern for a waterfall cardigan — the Grace Cardigan by DGpatterns — that was only $5.80 (it still is!), so I scooped it up.
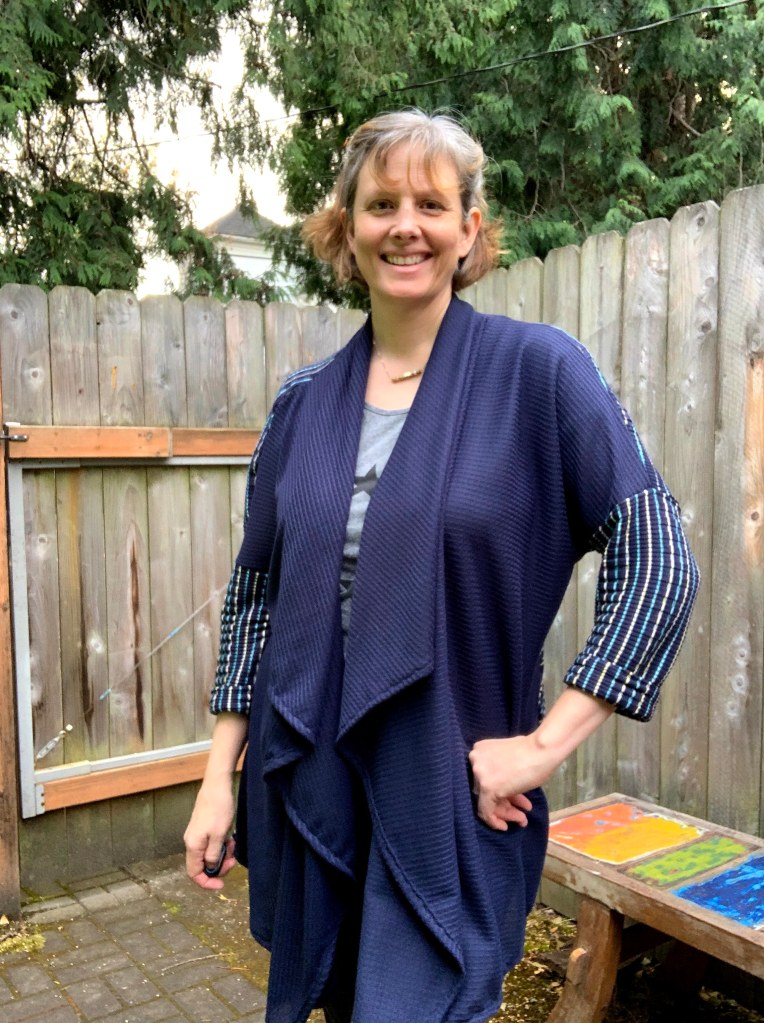
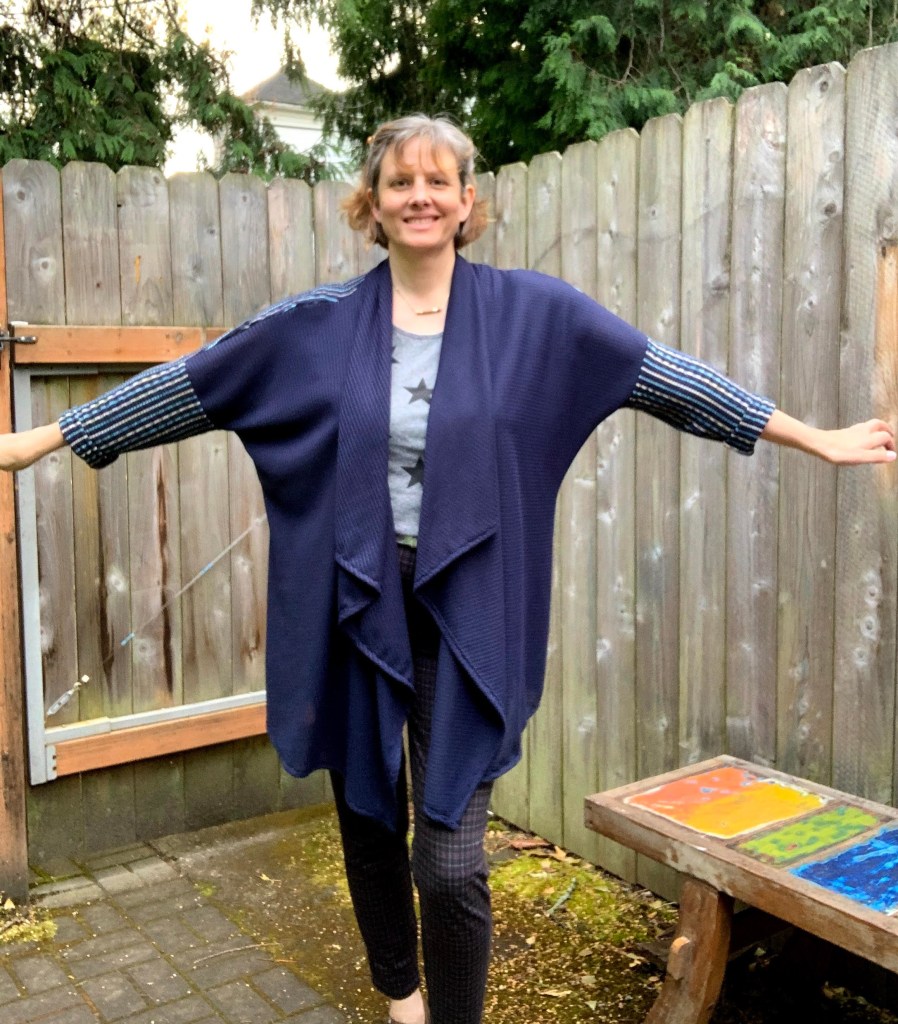
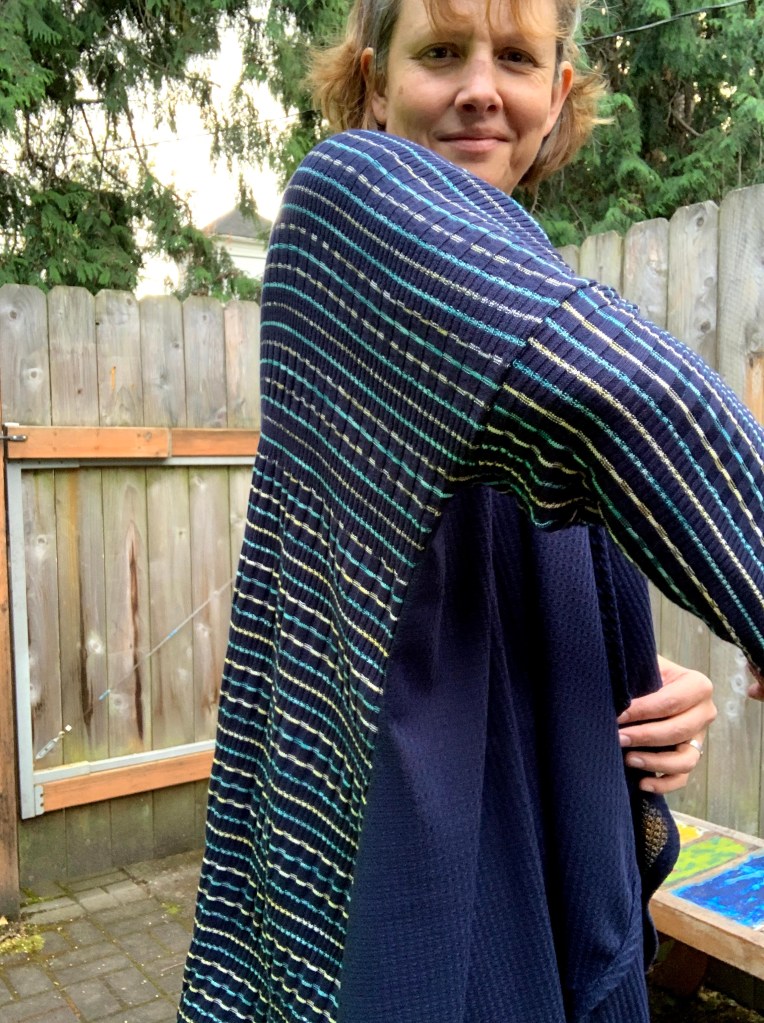
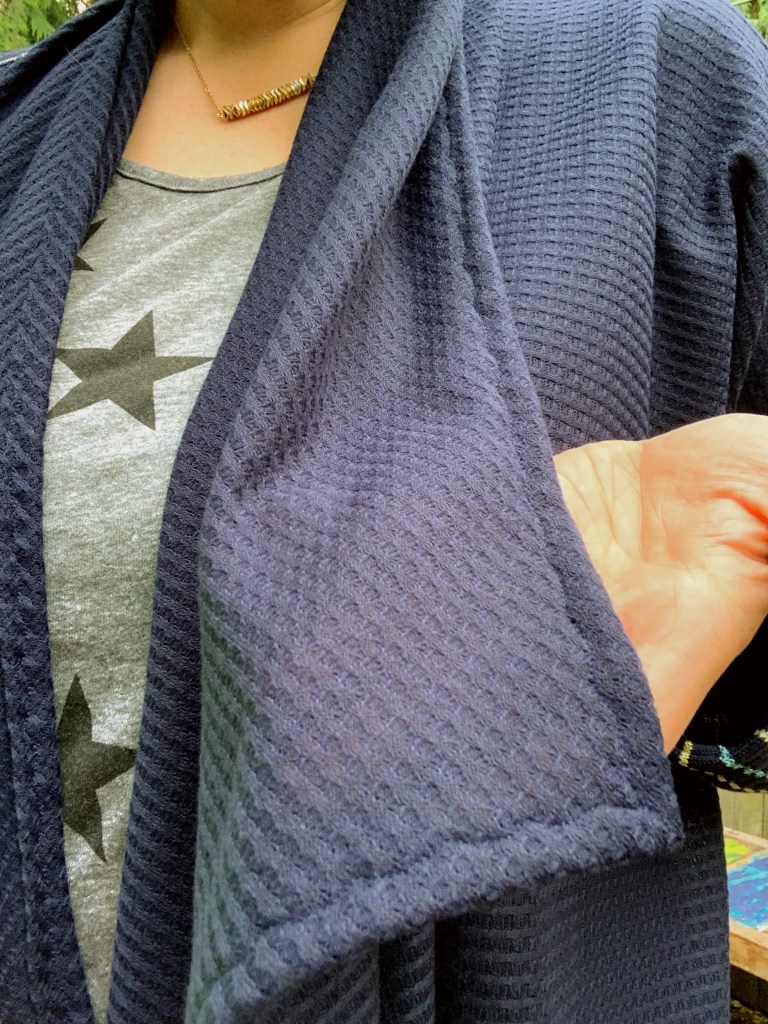
For me this is the perfect cardigan — something that looks like it might swallow me up whole. I had not intended to use two different fabrics. As you might have read in my Kathryn Top post, I had purchased this two-tone blue and yellow stripe fabric from Califabrics, but ran out of fabric after cutting the back and sleeves. This was due to a misreading of the pattern, where I saw the fabric layout and it said “1-1/2 yards” over the top. As you might guess, this was half the layout for only the back and sleeves. A second layout drawing was of the two front pieces on a separate 2-yard piece of fabric.
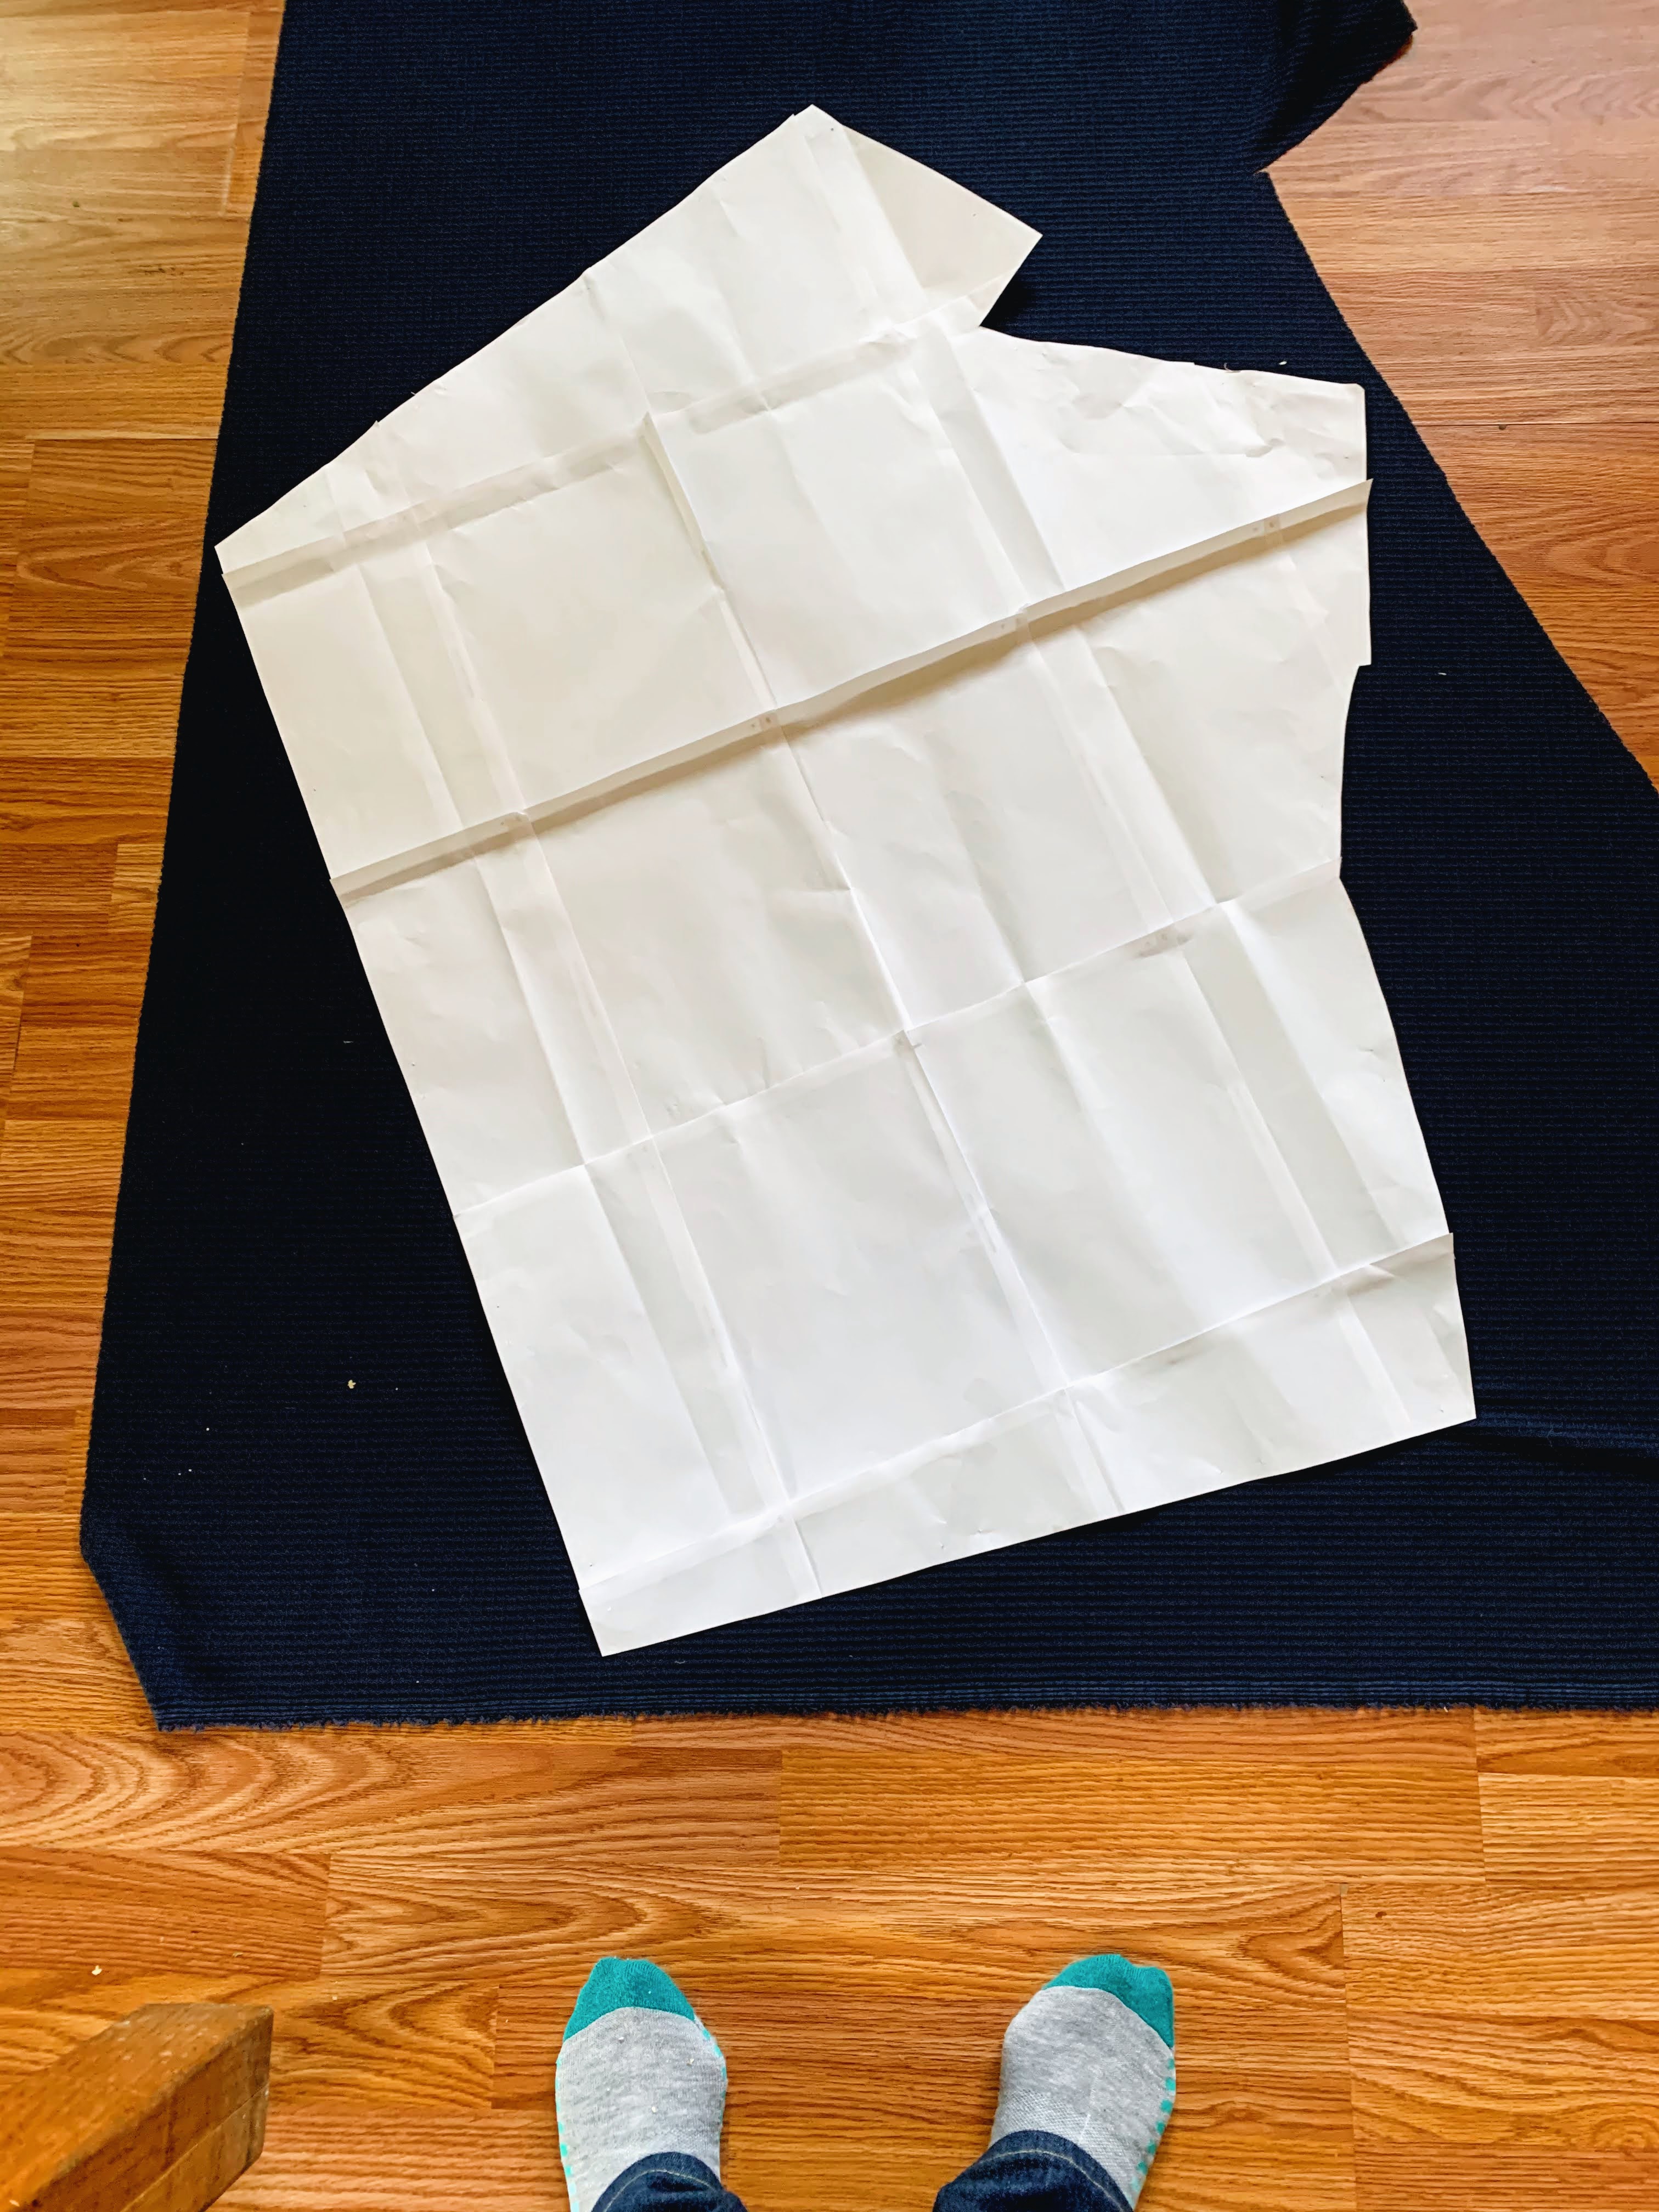
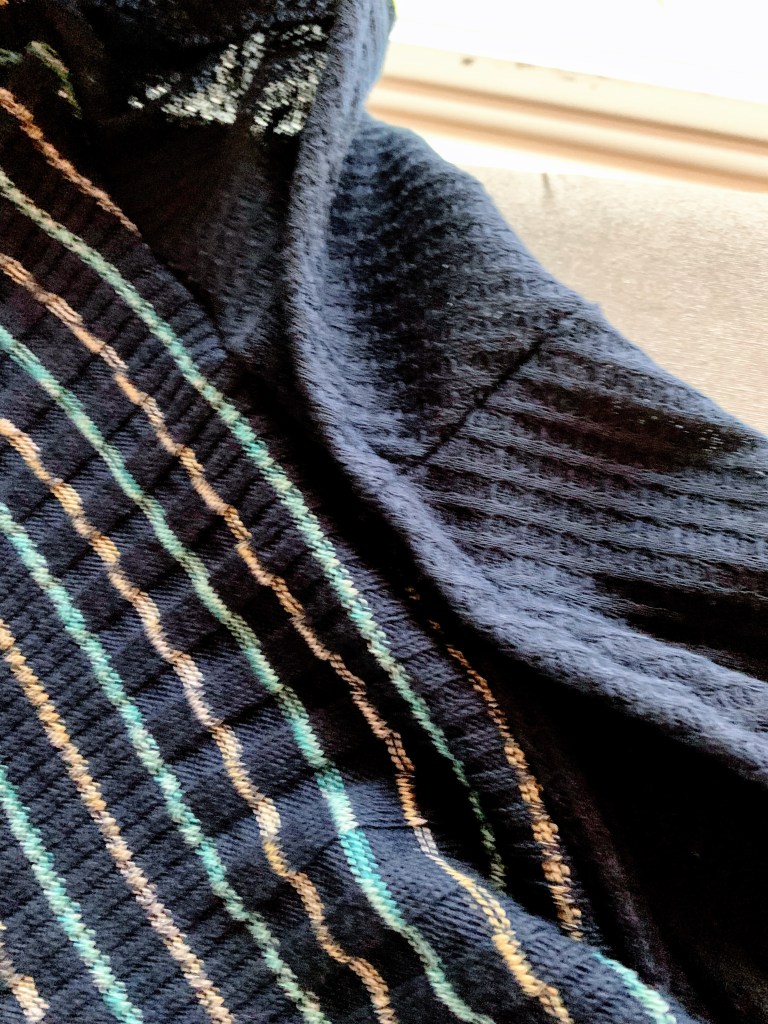
Never one to walk away from a project at the first sign of difficulty (though half the time maybe I should), I searched the internet for something similar, as the original fabric was sold out at Califabrics. The closest thing to it was a navy blue waffle fabric at Mood. I got the last of that too! My two front pieces just fit on the 2 yards from Mood and I was able to continue. The two navy blues are not the exact shades, but they’re pretty close. In these photos, the fabric looks very purple, but I assure you it is navy blue.
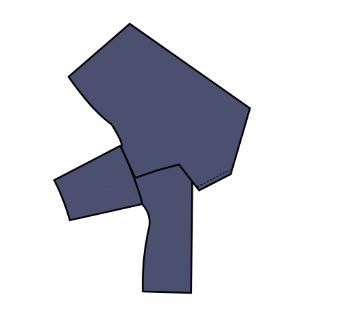
The DGpatterns instructions were pretty light on details. There were 13 steps of 1 or 2 sentences that probably could have been 20 steps. I was left to figure out a lot of the construction from the drawings, which looked a lot like instructions for making an origami crane. I examined this one in step 9 intensely for about 45 minutes:
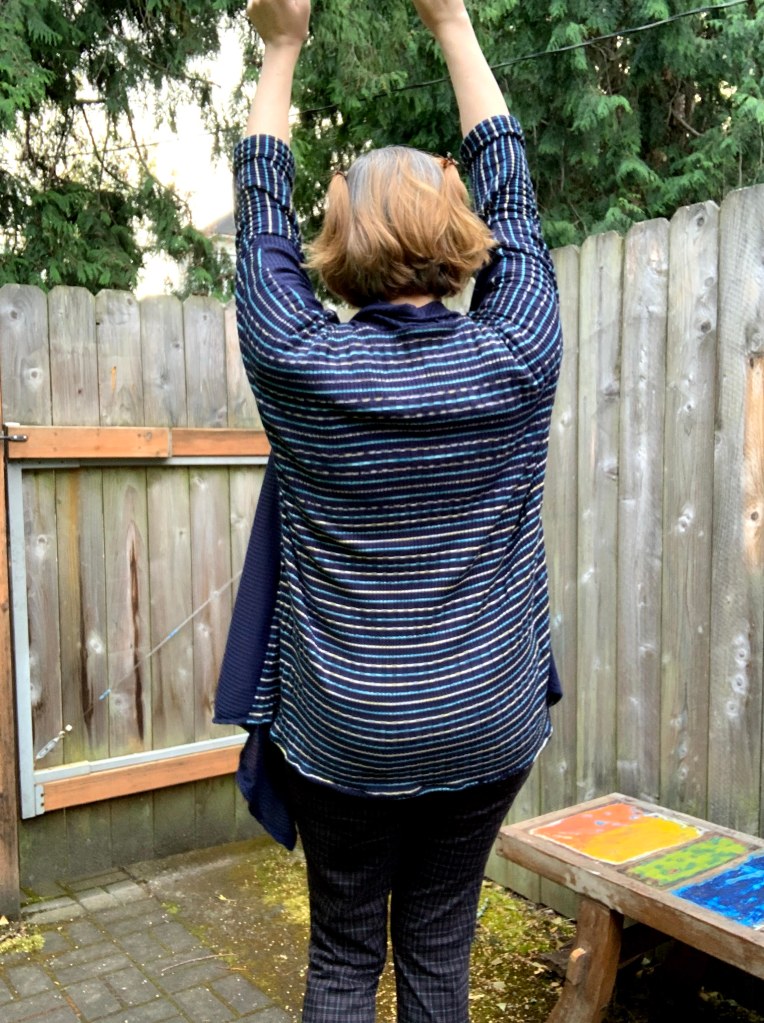
Finishing the shawl neckline seemed to be completely omitted. After step 13, I had a visible seam on the back of my neckline and thought, “This can’t be right.”
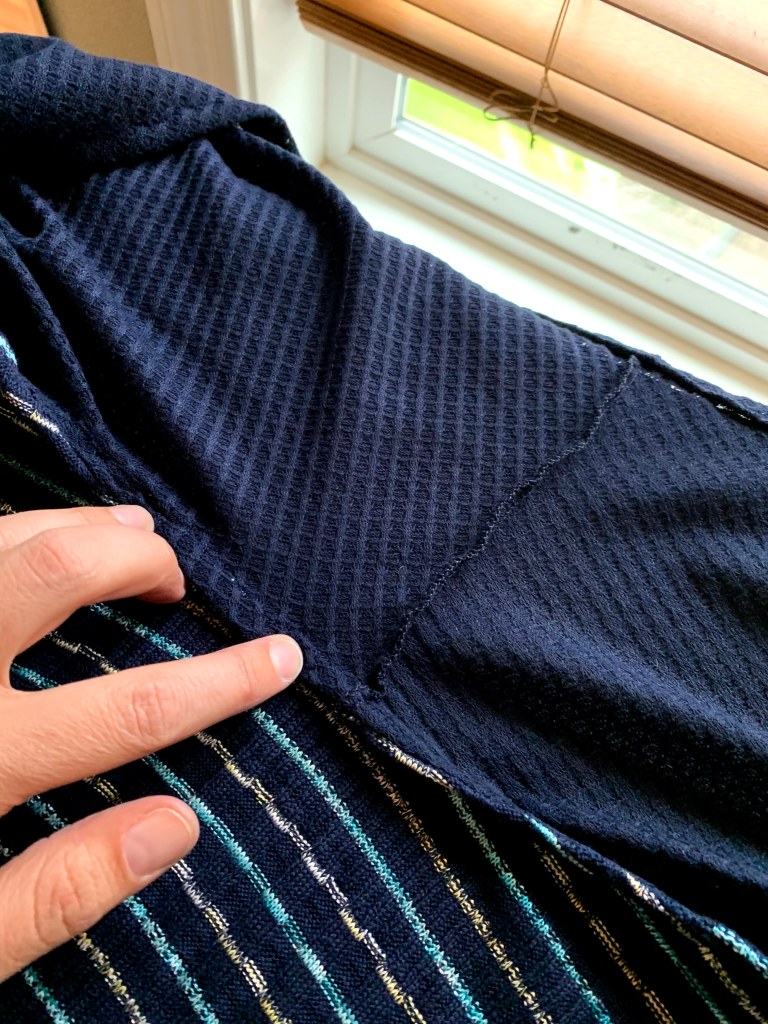
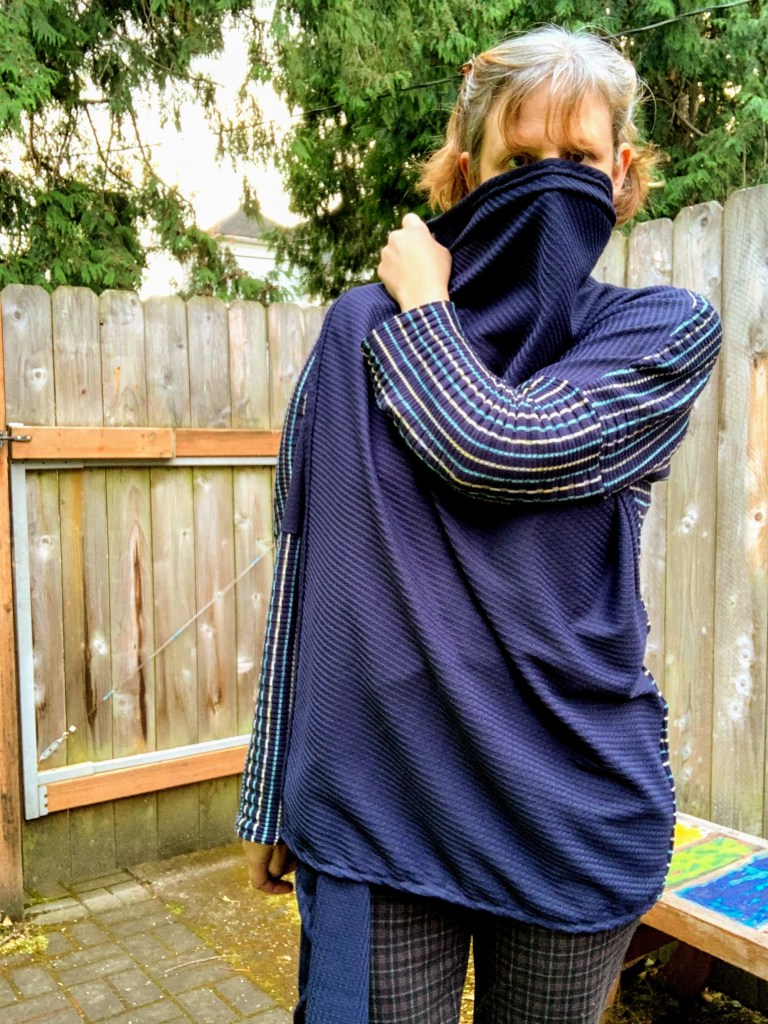
I played with it in front of the mirror for awhile and decided to roll the top of the collar to the outside and sew it down (on the right side), just a few inches on either side of the center back seam.
This is what it needed, and the center back now stays rolled the way it should and does not show a seam.

I finished the shawl front and hems with my favorite wavy zig-zag stitch. I used this on a similar collar for my Grainline Morris Blazer and was really happy with it. All seams other than finishes were done on the serger so this was a really quick sew.
This will be the topper in my Back to School module, and in my #WFHModuleSewalong entry. The WFH Module Sewalong is an Instagram challenge where you sew (or sew + thrift) six pieces that all coordinate together. My entry is due October 30 and I now have only one piece left, which will be a pair of pants. I’ve changed my plans from the Mountain View Pull-on Jeans to the newly released Pattern Scout Nellie Joggers (purchased in her recent release sale). Fabric is due to arrive tomorrow!
