Now that I’ve completed a couple projects for other people (and one secret pattern test), it’s time to get started on my Spring in Isolation module plans. I decided to do the quickest make first to rev up my sewjo. My sewjo needs a bit of revving after 30 days now in self-isolation from COVID-19. I’ll say no more about that. This is the Molly Dress from Sew Over It and I’ve added and removed a few details to make it unique.
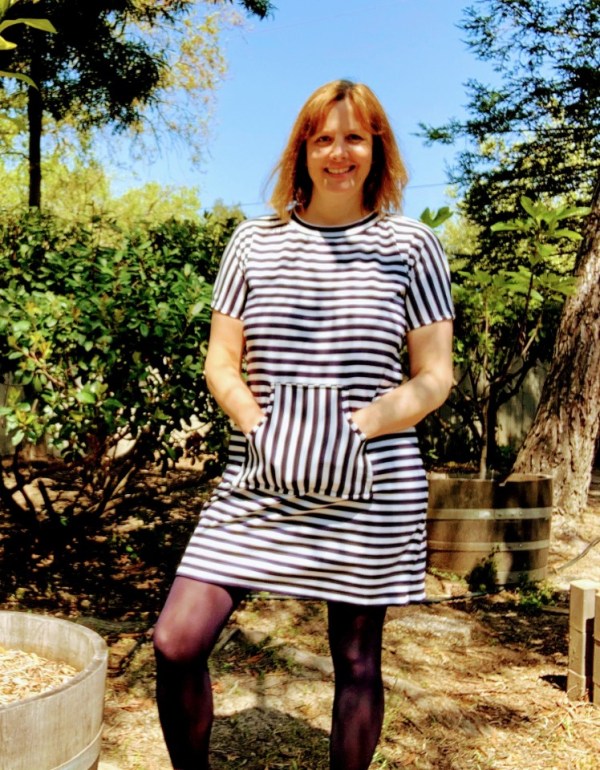
Essentially, I left off the bottom sleeve pieces and turned them into a lined kangaroo pocket. I got the idea when I was holding the folded sleeve pieces in front of my dress and looked in the mirror. This wants to be a pocket! The pocket is a little more petite than a typical kangaroo pocket so I’m calling it a handwarmer pocket.
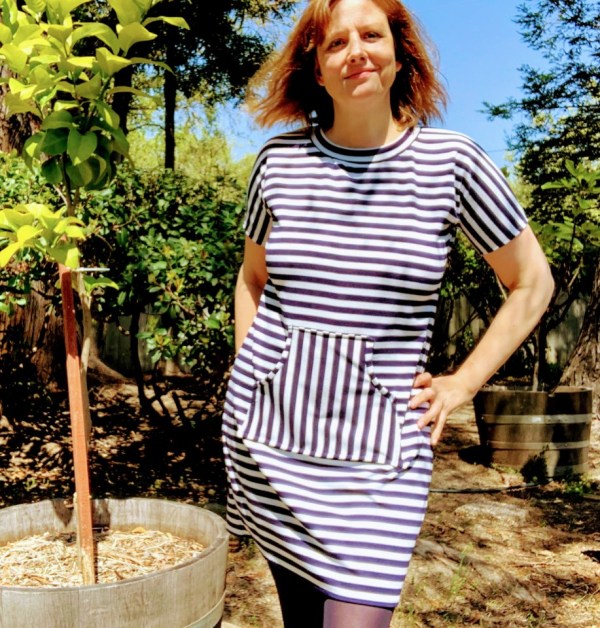
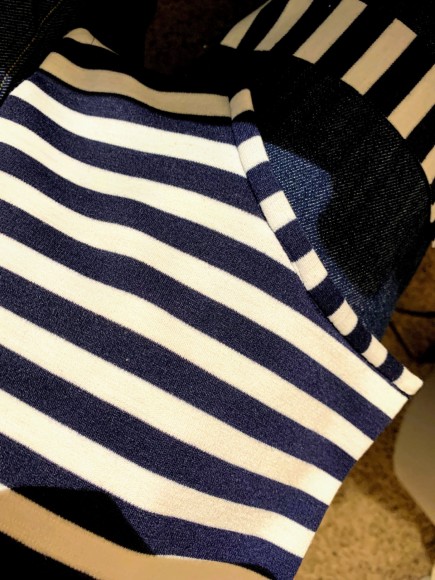
The fabric is a 2-1/4 yard remnant of navy stripe ponte de roma I found at SewingStudio.com in early March for $12! (I have no problem finding specials on her site because I’m hawking it 2-3 times per day.) Ponte is one of my new favorite fabrics — it’s warm, cozy, soft, thick. In short, everything I want in a garment!
My inspo for this dress is, of course, Lisa Comfort of Sew Over It:
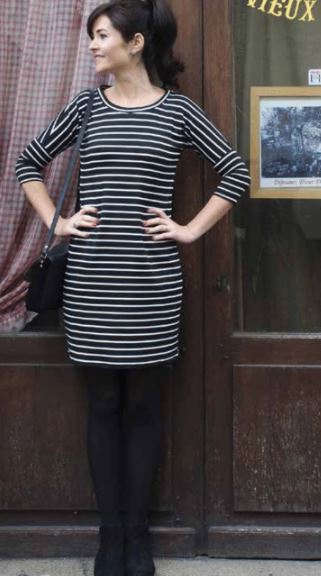
My plan was to make the dress exactly like Lisa’s. Some mistakes were made in cutting, however, that required some creativity.
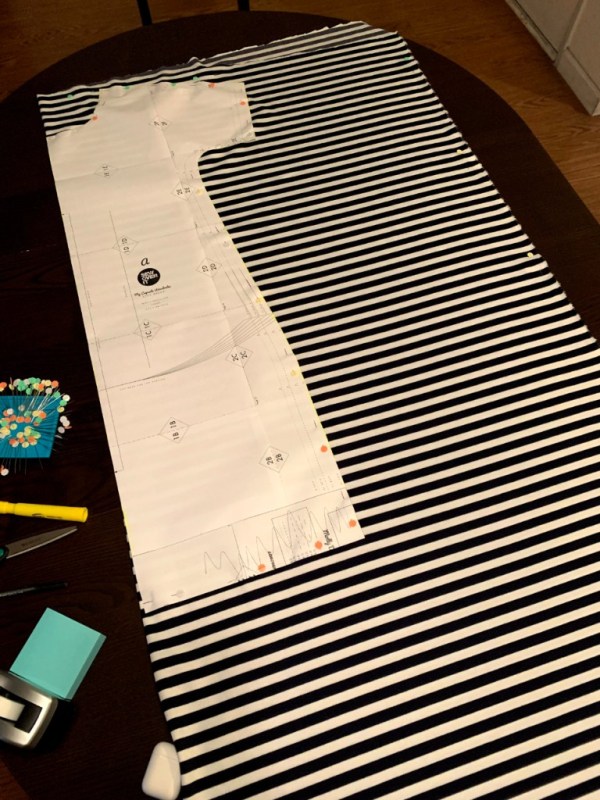
I had 2-1/4 yards, but did not optimize the cutting. I was just watching the fabulous Whitney from the YouTube channel TomKat Stitchery yesterday and she was explaining how she’ll fold in BOTH sides of a fabric if she has two pieces that must be cut on the fold. Genius! This pattern has two BIG pieces that must be cut on the fold. I just stacked the pieces end-to-end and cut them both on the fold. Then I had a ton fabric leftover on the edge. Not recommended.
The big dress pieces limited my options for the sleeves and so I cut them on the same direction as the dress. I love the look of the sideways stripe on the bottom of the sleeve, so when I discovered I had cut the stripe going the same way — and the stripes weren’t even going to match — I decided to just finish a short sleeve. It’s springtime anyway.
Not to worry about all the extra fabric going to waste. Because it was a 3/4 yard rectangle, I thought again of the fantastic Infiniti Scarf video by Sew Anastasia. I found this video last Christmas and made a bunch as gifts. It’s a fun, fast make.


Suprisingly, the stripe scarf even looks good with the stripe Molly dress! It kind of makes it look like a cowl neck.
Now on to the handwarmer pocket construction. I started with a tutorial by Positively Splendia that explained the kangaroo pocket very well.
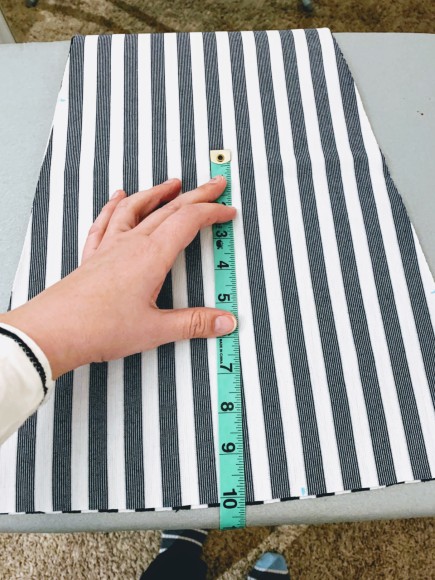
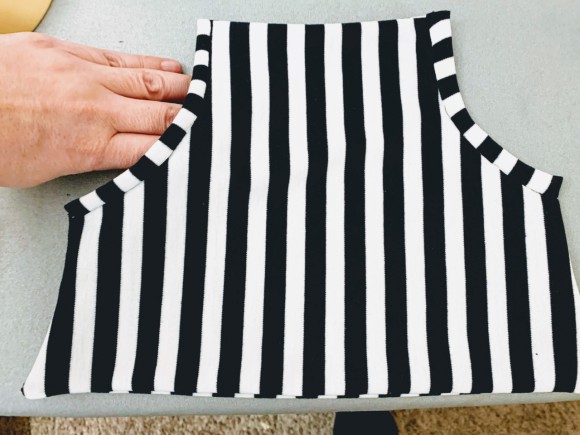
I didn’t draft a pocket pattern as she suggests, but used my leftover bottom sleeve pieces. I held these over the top of the dress while I was wearing it to get an idea of how big I wanted the pocket; 10″ inches looked right to me. I cut the fabric through both pieces 10″ from the widest side.
Next I put a bowl in the corners and drew around it, trying to get both corners to be the same shape.
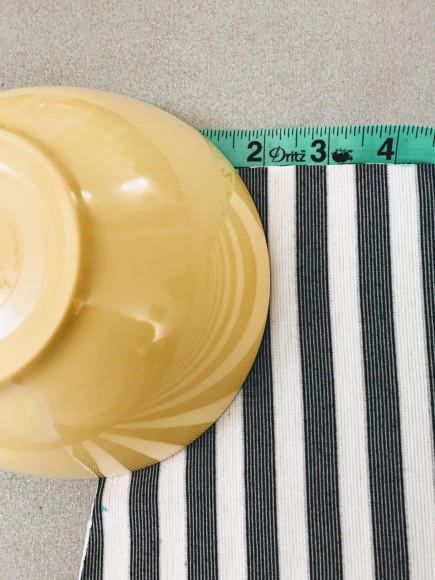
FYI: They didn’t end up being the same shape. If you have the time, this may be where you apply some extra precision (and not just toss down your wiped-out cereal bowl and draw around it like I did).
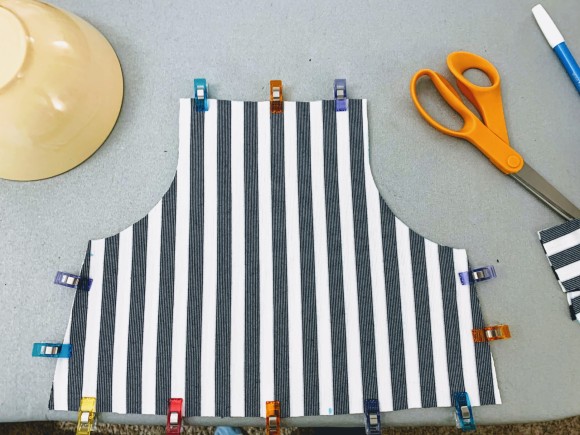
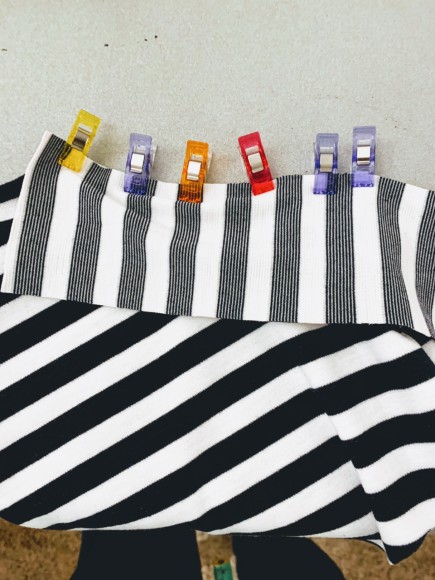
Next, I used the serger to go around all the sides wrong-sides out (the sides with wonderclips below), leaving the pocket openings unsewn.
Now for the fun part — the pocket opening binding. I turned the pocket right sides out and clipped a scrap to the edge of the opening.
I sewed this to the pocket edge with a zig-zag stich on my sewing machine. At this point, if you just fold the scrap fabric over and stitch it down, the ends will be unfinished and we can’t have that. To enclose the ends, I used the same technique from the Closet Case Fiore Skirt waistband. This was a real headscratcher when I first read the Fiore instructions. It took me fully 24 hours to understand what I was doing. Now that I get it, I use it all the time.
Basically, the binding needs to be folded in half, right-sides together, and stitched together along the edge of what you’re binding. Then when it’s turned inside-out it will magically enclose your edge. I did this for both sides, and then some stitch-in-the-ditch to secure the binding down.
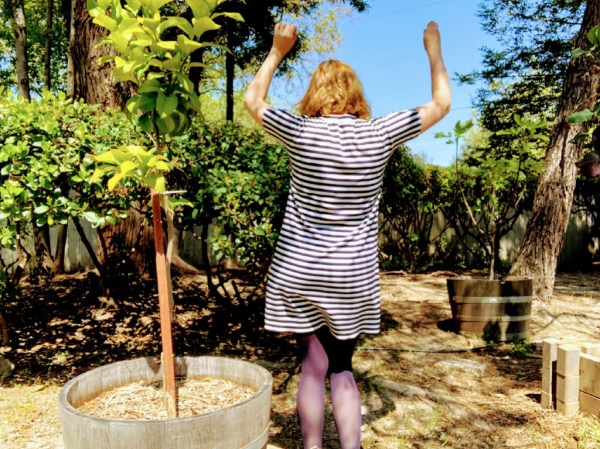
To place it on the dress, I threw on the dress and then pinned the pocket on in front of the mirror, taking care not to prick myself. I took the dress off carefully and re-pinned to line up the bottom of the pocket with a stripe.
It feels great to complete the first garment in my second module. Next I’m going to get started on my module topper: a Blackwood cardigan -rp
