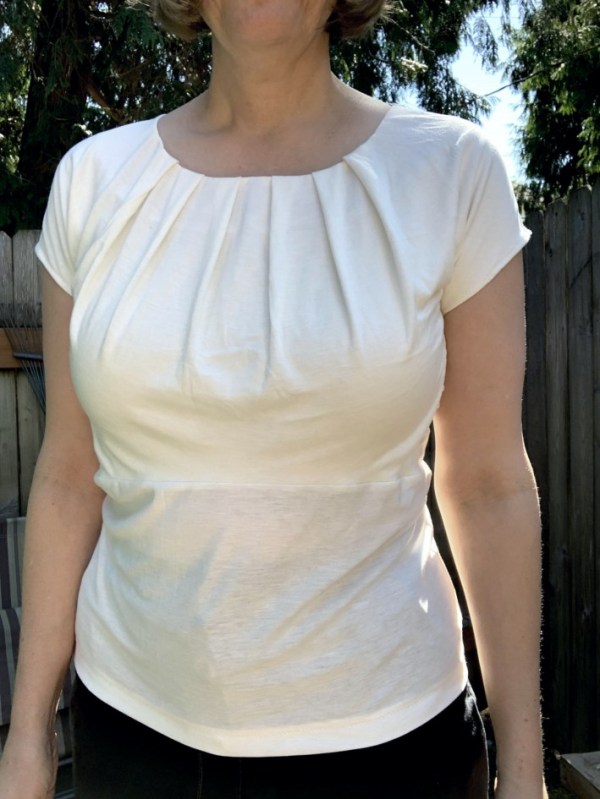
This week, I lost no time getting started on my new “Back to School” module (which has nothing to do with me going to school). My first finished piece is the Kathryn Top from Itch To Stitch made from a silky Robert Kaufman “Bamboo Blend Knit Cream” from Dry Goods Design in Seattle.

I purchased one yard for $20 in May, with part of a birthday gift certificate from my thoughtful parents. I did not prewash it because I thought I would probably end up with only a half yard. It was also so crisp and soft that I was sure my eager washer and dryer would chew it to pieces.

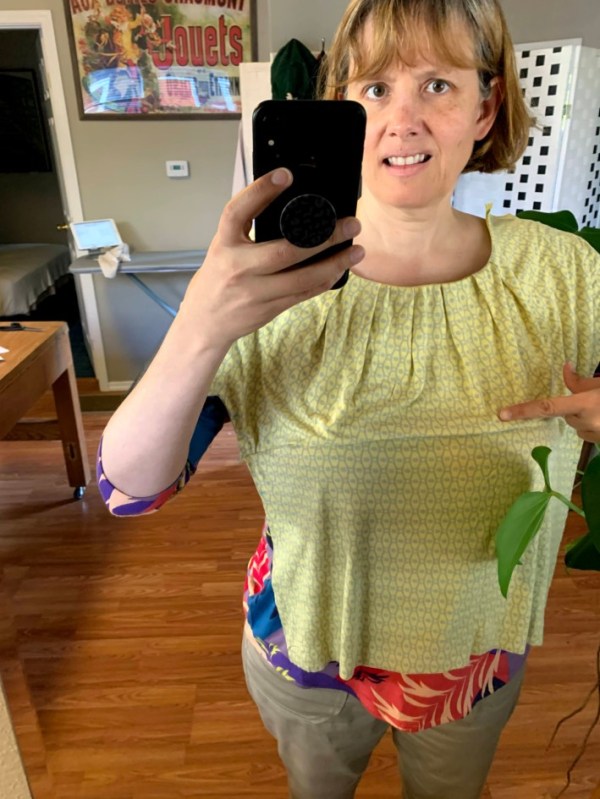
You might be thinking, “Rachel, the Kathryn Top is designed for small bust. How on earth did you get it to fit??” I’m so glad you asked. It was not entirely easy. I actually made the top twice. The first time was with my intended fabric, a yellow-green knit with grey cells (are they cells?) on it. As I pretty much knew it would (judging from the tester photos), the empire seam hit me right at mid-bust. This fabric was really cheap and springy and the more I worked with it the more I didn’t like it. I wasn’t heartbroken when it wasn’t going to fit.
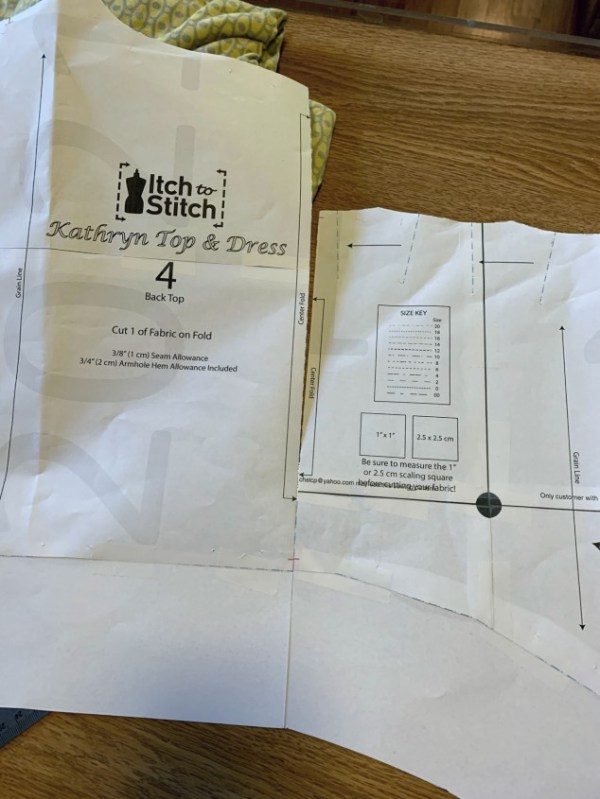
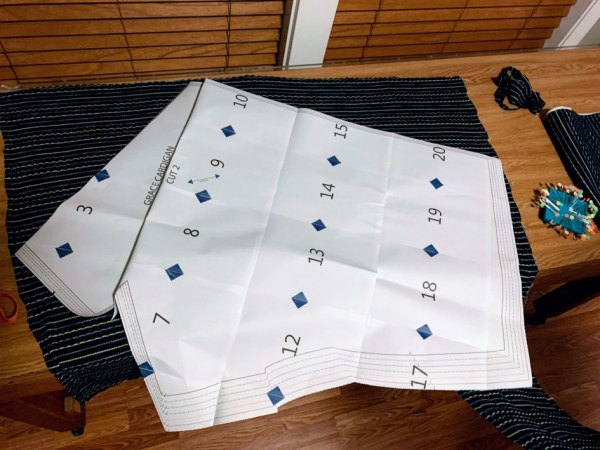
I decided to start over with the lovely Robert Kaufman I had squirreled away. Now I have no idea how to do an FBA for an empire waist (and no interest in really learning until I want to do some regency gowns), so I decided to just lengthen the top pieces by 3″ and call it good. I added paper to the bottom of the front top and measured 3″ down from each corner. Then I used my curve ruler to connect the corners.
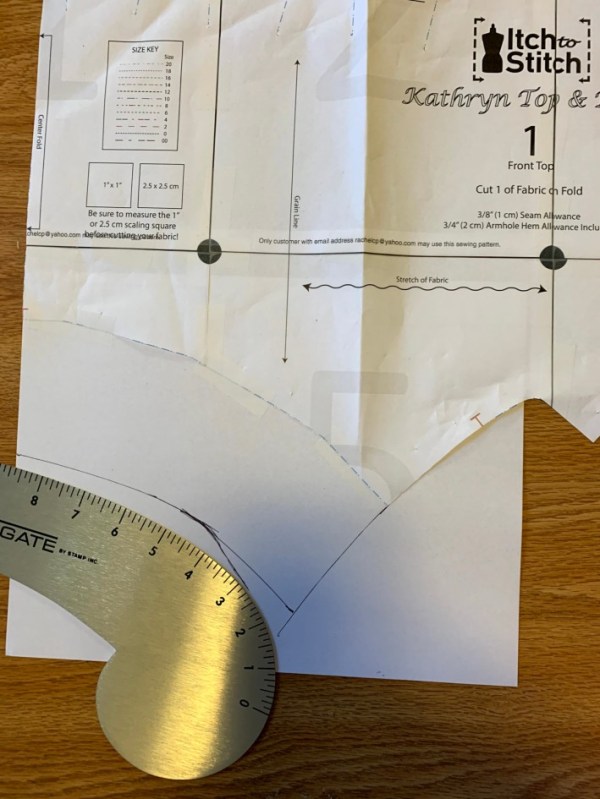
I also had to lengthen the top lining and back top the same 3″.
I used these new pieces and cut into the bamboo. I loved the way the pleats turned out. I used just a cotton muslin for the facing piece. When it got time to sew the front top to the front bottom, I found the front top was about 1-1/2″ too narrow on each side. Eek!
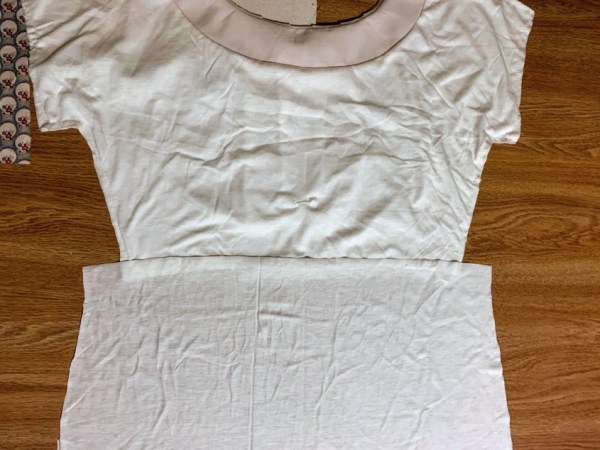
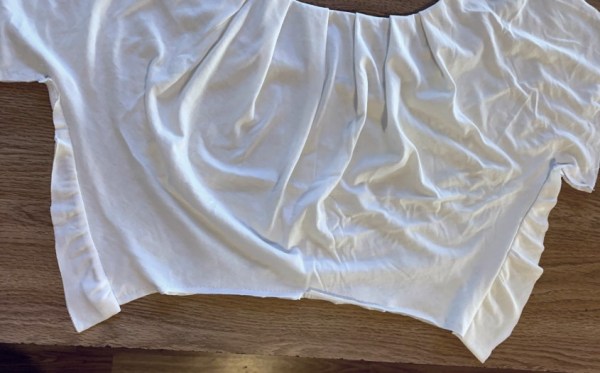
What could one do but just sew on more fabric? I sure wasn’t going to do all the pleats and facing again. I thought back to when I had made the Sew Over It Edie Top and remembered how I gathered the sides to pull the top in under the bust. For some reason, I thought this side-gathering technique would do the same here. It clearly wouldn’t because there is a straight seam between the bust and gathers. Oh well, it ended up looking fun.
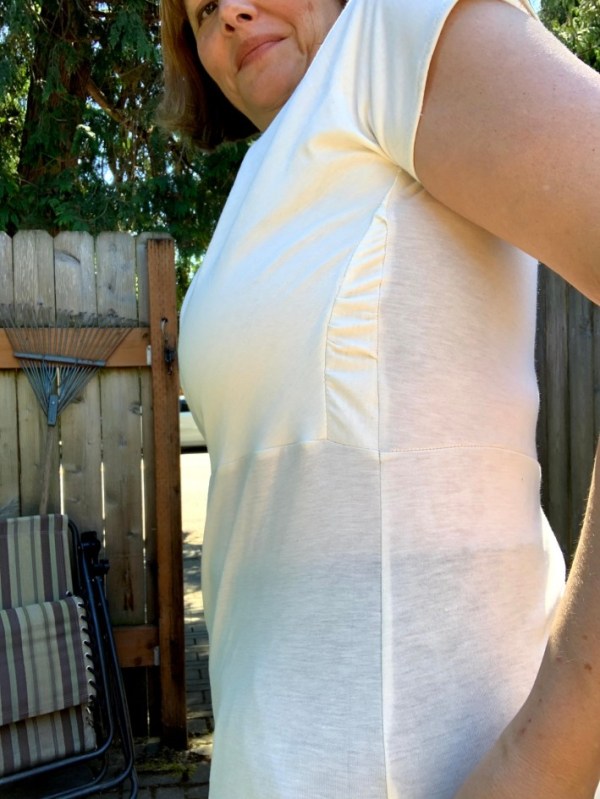
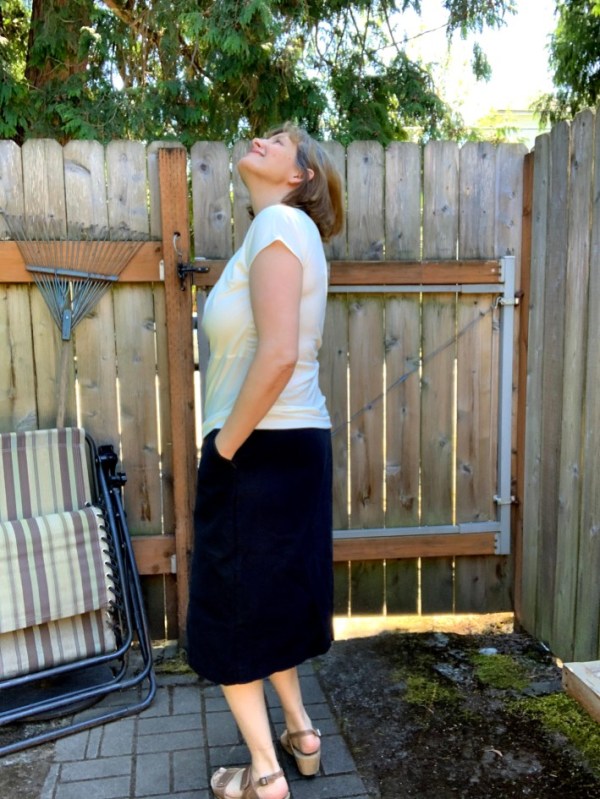
I’m really happy with how the top turned out. It is going to go great with my Grace Cardigan (in a new fabric; read on to learn why).
A couple other sewing notes this week. My original plan was to start the sewing for this module with the Grace Cardigan. Unfortunately, I ran out of fabric after cutting out half the pieces.
I was able to repurpose the sleeves and some of the scraps into a hat and scarf for Eric.
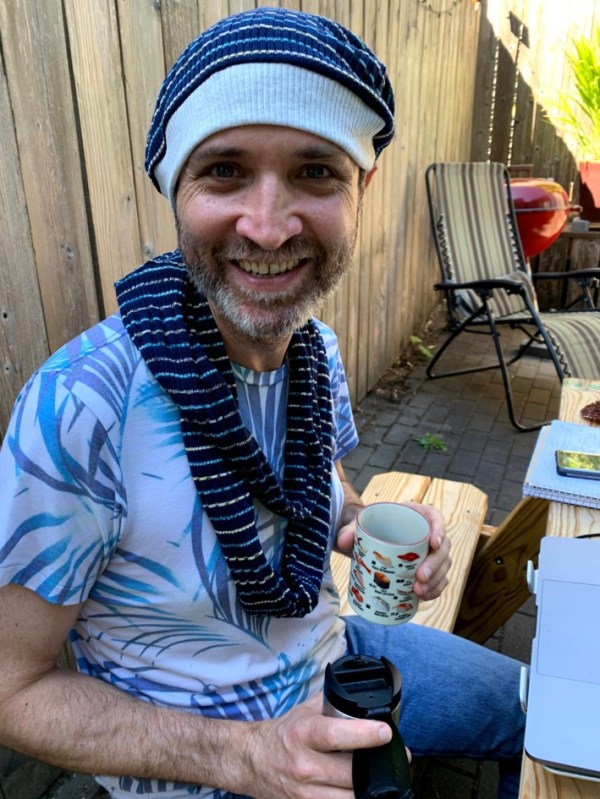
He was very happy with them and wore them for several hours (while drinking hot coffee) in 80-degree heat.
Lastly, it’s kismet that I announced my new module plans 5 days before Whitney of TomKat Stitchery on YouTube announced her Work From Home Sew Along Module Challenge. I’m sure she would not object if my Back To (imaginary) School module — though conceived slightly before the challenge — was an entrant. I can’t wait to see everyone’s new modules. Use the tags #wfhmodulesewalong and #thegreatmodulesewalong so I can see yours please! -rp
